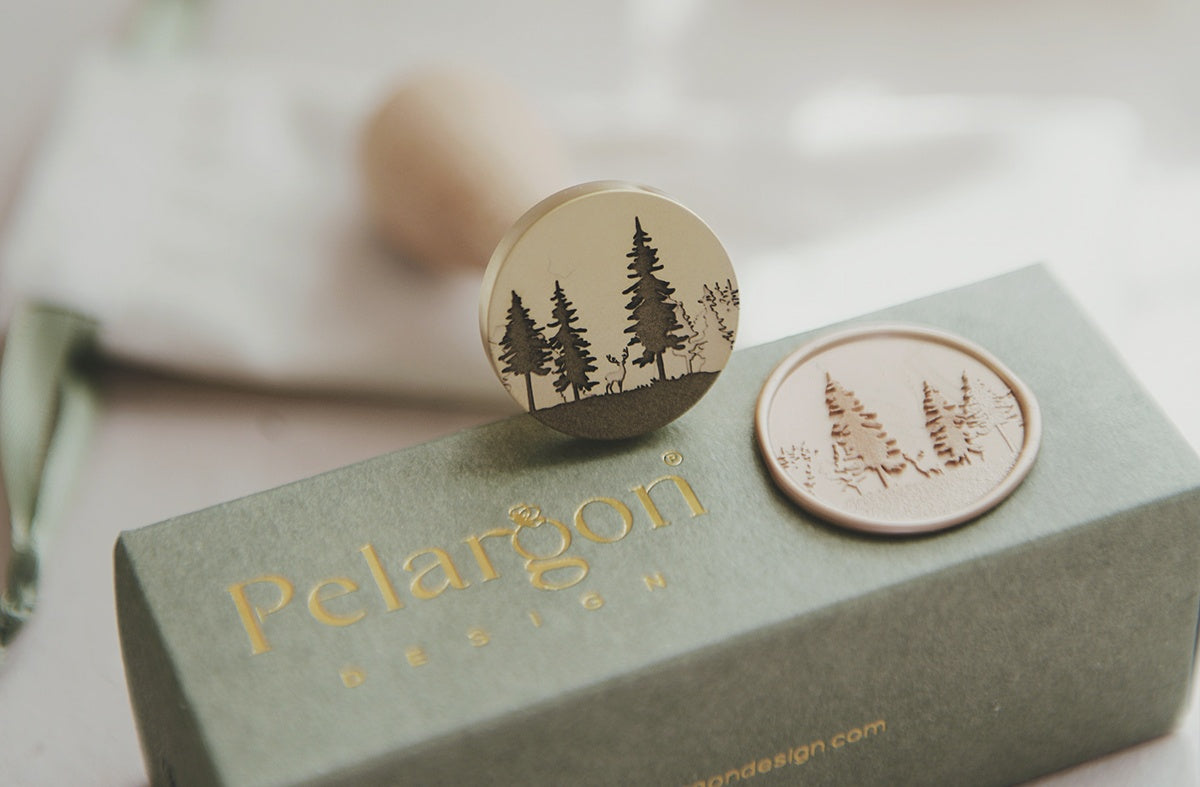


Hot Glue Gun, Digital Temperature Control
Meet our adjustable-temperature hot glue gun, designed for wax seal makers who work with both sealing wax and faux hot glue seals.
With a clear digital screen and a temperature range from 100°C to 220°C / 212°F to 428°F, you are always in control - no guessing, no overheating, no wasted wax, fewer mistake. Simply choose the temperature that suits the material and let the tool do the rest.
- For Low-Temperature Sealing Wax, set it to 100-120°C. The wax melts smoothly, flows gently, and keeps its lovely texture without scorching or bubbling.
- For High-Temperature Crystal Clear Hot Glue, increase temperature to 190-210°C, ideal for glass-like, crystal-clear glue seals and strong bonding in craft projects.
Features:
- Adjustable temperature range from 100°C to 220°C / 212°F to 410°F
- Digital Display
- Lead length: 1.2 metres / 47 inches
- Voltage & Power 100-240 V / Max. 120W
- Warm-up Time: 1-3 minutes for low-temp; 8 minutes for high-temp
- Suitable for wax or hot glue sticks with a diameter of Ø11-12 mm
- Available in Type C and Type A plug.
- 2 Year Warranty
Q&A
Q: How do I adjust the temperature?
A: Simply press the arrow buttons to adjust the temperature.
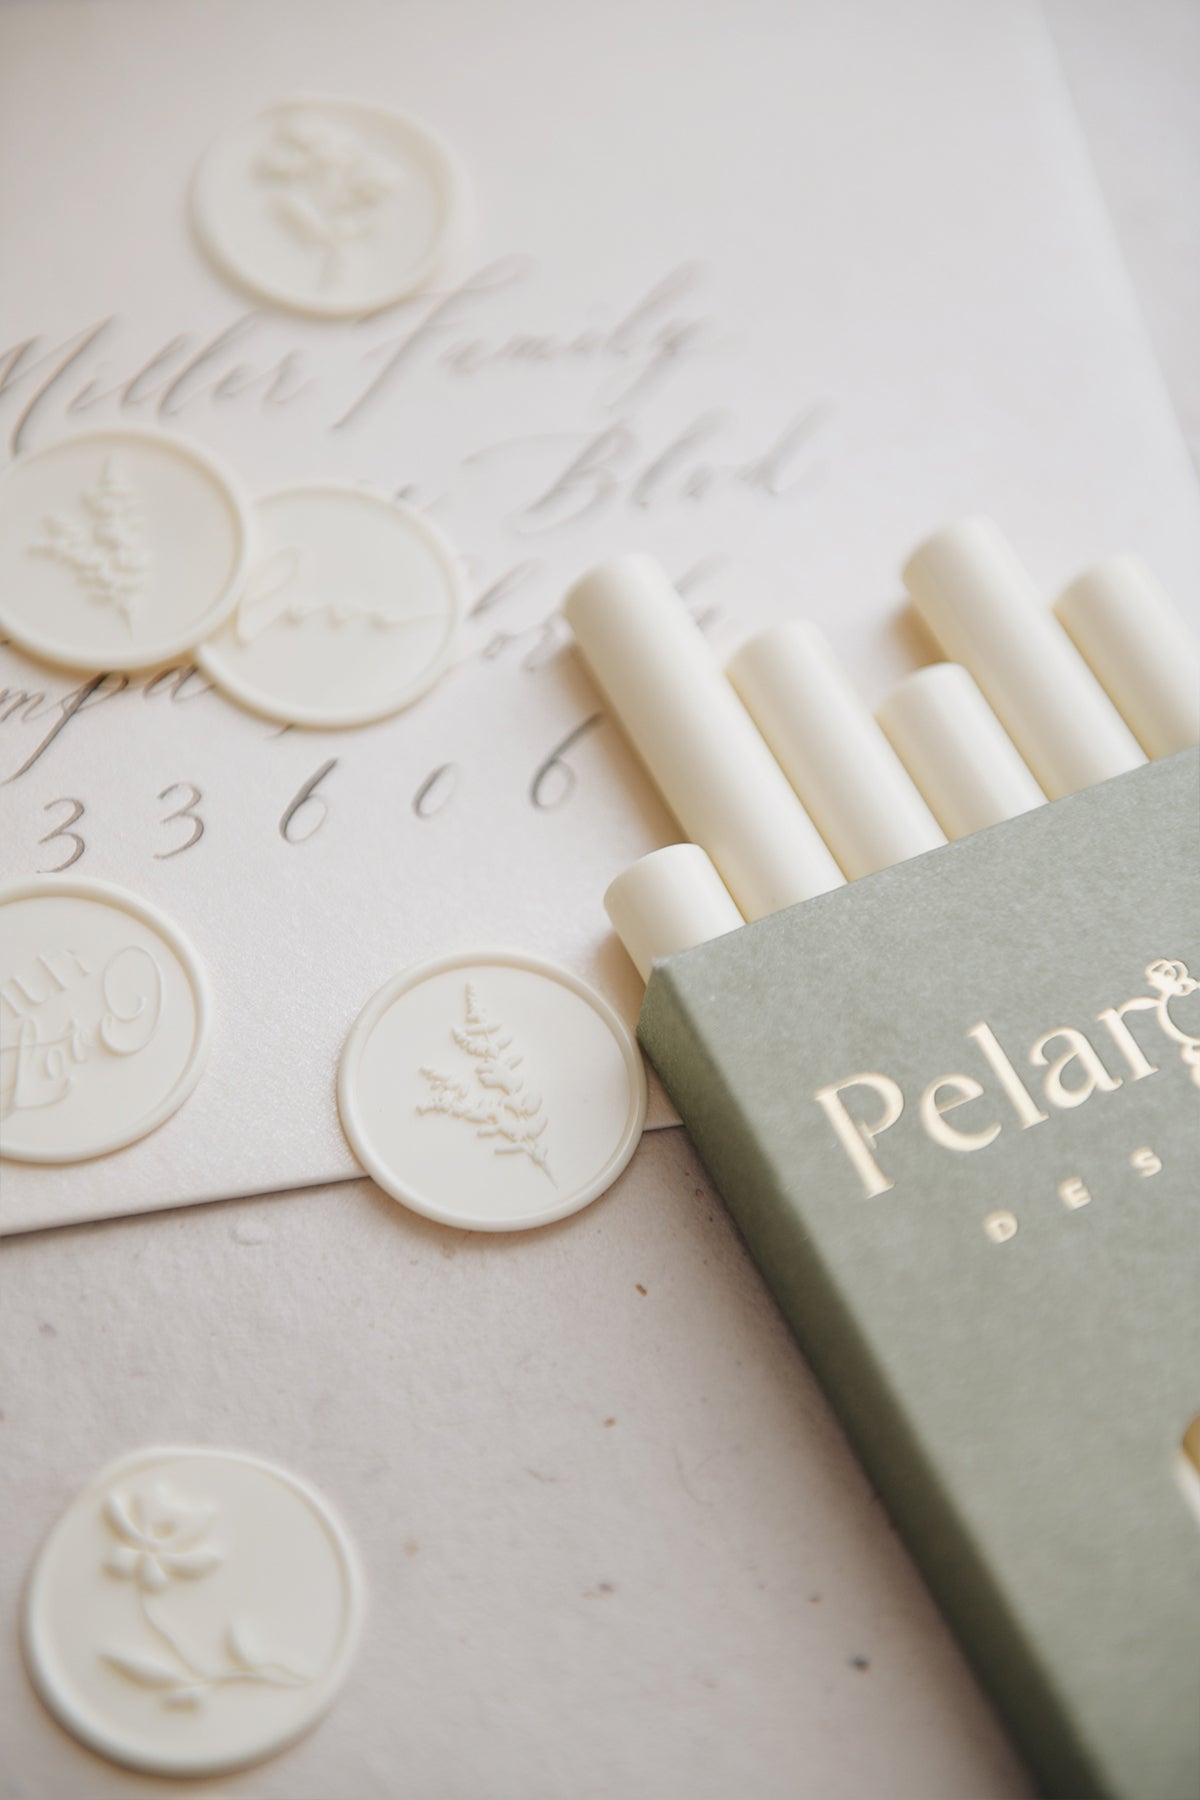
Q: How to switch wax colors in the glue gun?
A: Insert a clear glue stick into your sealing‑wax gun and dispense it completely. This pushes out the old color, helps prevent mixing, and gives you a clean chamber before loading the new wax.
Q: Can I use the same gun for both clear hot glue and sealing wax?
A: Yes, you can. However, for the best results, we recommend using separate glue guns for GLAX crystal clear sticks and sealing wax. This helps keep the gun clean, so the clear glue remains transparent when making faux hot glue seals.
Q: What type of plug does it come with?
A: It is available with a Type C Plug (For most EU countries, Brazil, Chile, Thailand, Vietnam) and a Type A Plug (USA, Canada, Mexico, Japan, Philippines, Taiwan, Colombia, and the Caribbean nations). If neither is suitable for your country, a plug converter may be required (not included in the package).
Click here to watch more video.
La méthode du pistolet à colle
- Sélectionnez votre couleur de cire et insérez un bâton dans le pistolet à colle.
- Attendez que le pistolet à colle chauffe pendant 1 à 2 minutes. Une fois prêt, appliquez la cire sur votre enveloppe.
- Placez le sceau au centre de la cire, en assurant une impression ferme et uniforme.
- Laissez la cire refroidir pendant 10 à 15 secondes, puis retirez le tampon de cire.
La méthode de la cuillère fondante
- Coupez un petit morceau de cire du bâton et placez-le dans une cuillère en métal. Il est conseillé d'utiliser une cuillère à manche non métallique pour éviter de vous brûler les doigts.
- Allumez une bougie et placez la cuillère au-dessus de la flamme. Attendez que la cire soit complètement fondue. Vous pouvez également mélanger 2 ou 3 couleurs pour créer un joli sceau marbré !
- Versez la cire sur l'enveloppe et placez le sceau dans la cire.
- Laissez la cire refroidir pendant 10 à 15 secondes, puis retirez le tampon de cire.
Politique d'expédition
// Expédition dans le monde entier //
Expédition standard via PostNord Suède (numéro de suivi inclus)
Veuillez prévoir 2 jours ouvrables pour le traitement et l'expédition de la commande.
Délais de livraison estimés :
-
En Suède : 2 à 4 jours ouvrables
-
Au sein de l'UE : 5 à 7 jours ouvrables
-
International (hors UE) : 7 à 15 jours ouvrables
Vous pouvez trouver votre numéro de suivi en vérifiant vos e-mails pour les notifications de commande du site Web ou en vous connectant à votre compte et en consultant votre commande pour les dernières informations de suivi.
Si vous avez besoin de votre commande à une certaine date, veuillez d'abord nous envoyer un e-mail avant de passer la commande. hello@pelargondesign.com
