Unboxing The Most Crystal Clear Hot Glue - GLAX®
What is GLAX?
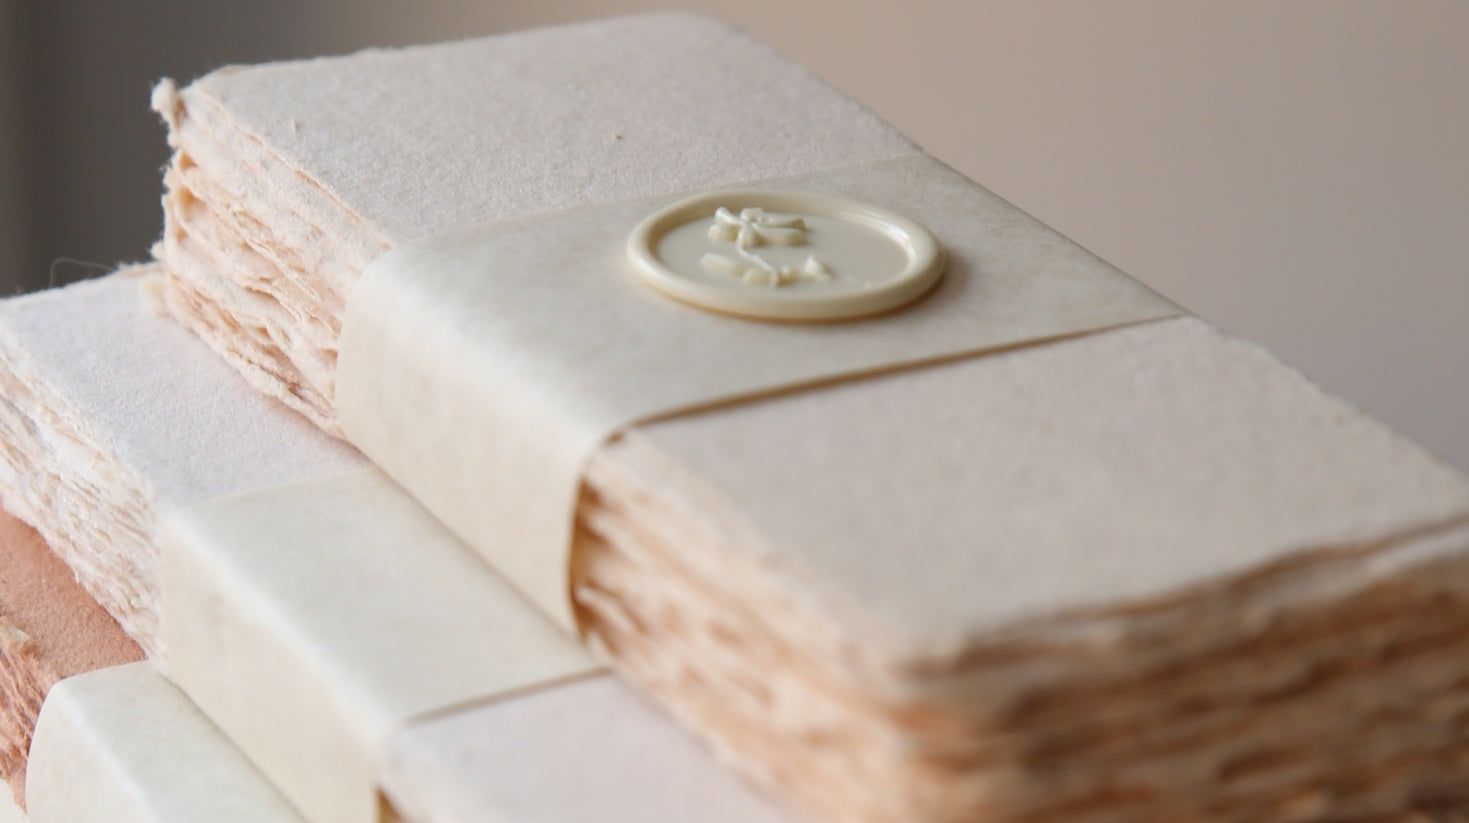
GLAX® is an innovative material designed specifically for wax seal art. While its base is hot glue, it’s not the regular kind - GLAX has been formulated to enhance transparency while reducing adhesiveness, creating a material that’s non-sticky yet boasts a unique glass-like finish. Think of it as a hybrid between hot glue and sealing wax, offering a fun and aesthetic new experience of wax sealing.

Today, we’ll walk you through 4 creative ways to use GLAX to make glassy faux wax seals.

What You’ll Need:
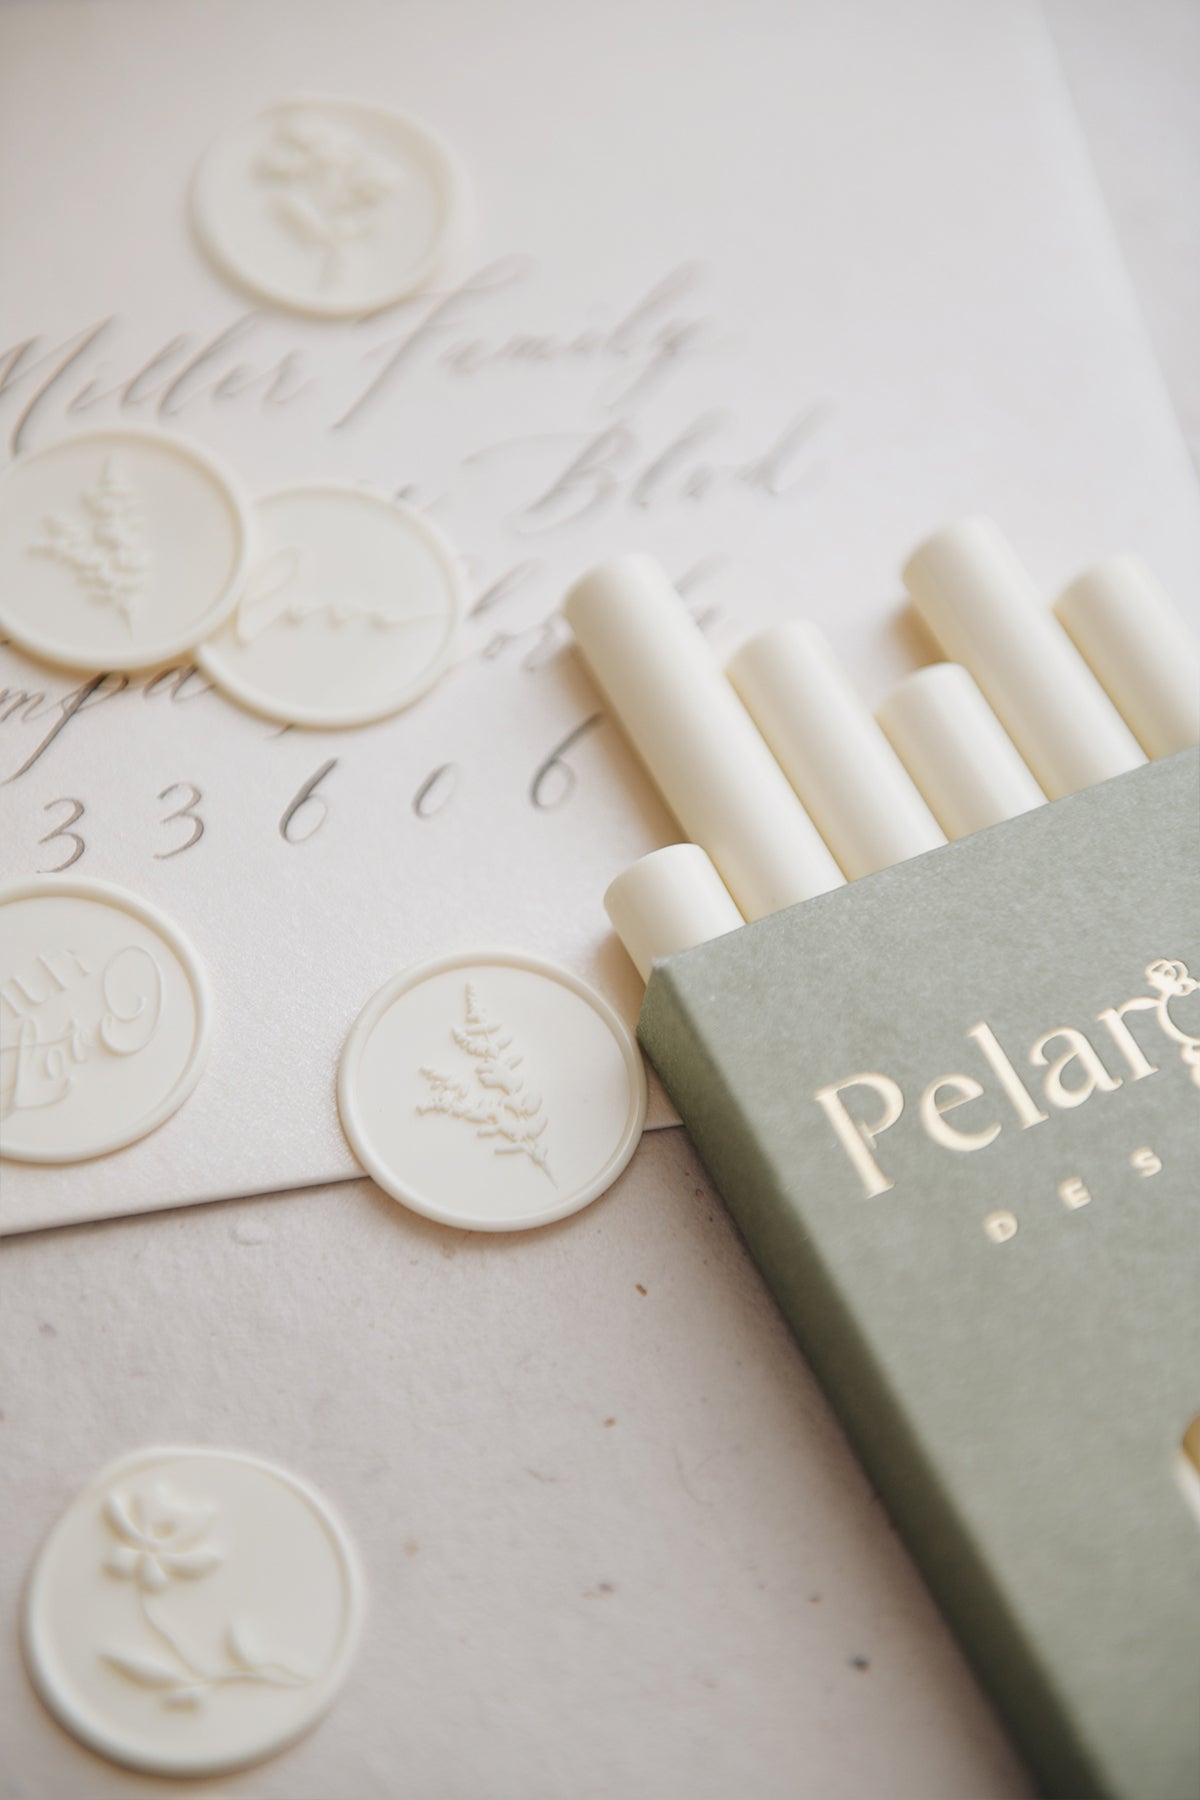
- GLAX – Crystal Clear Hot Glue ( For mini glue gun, please choose GLAX Mini )
- Large Standard Size High-temperature Glue Gun
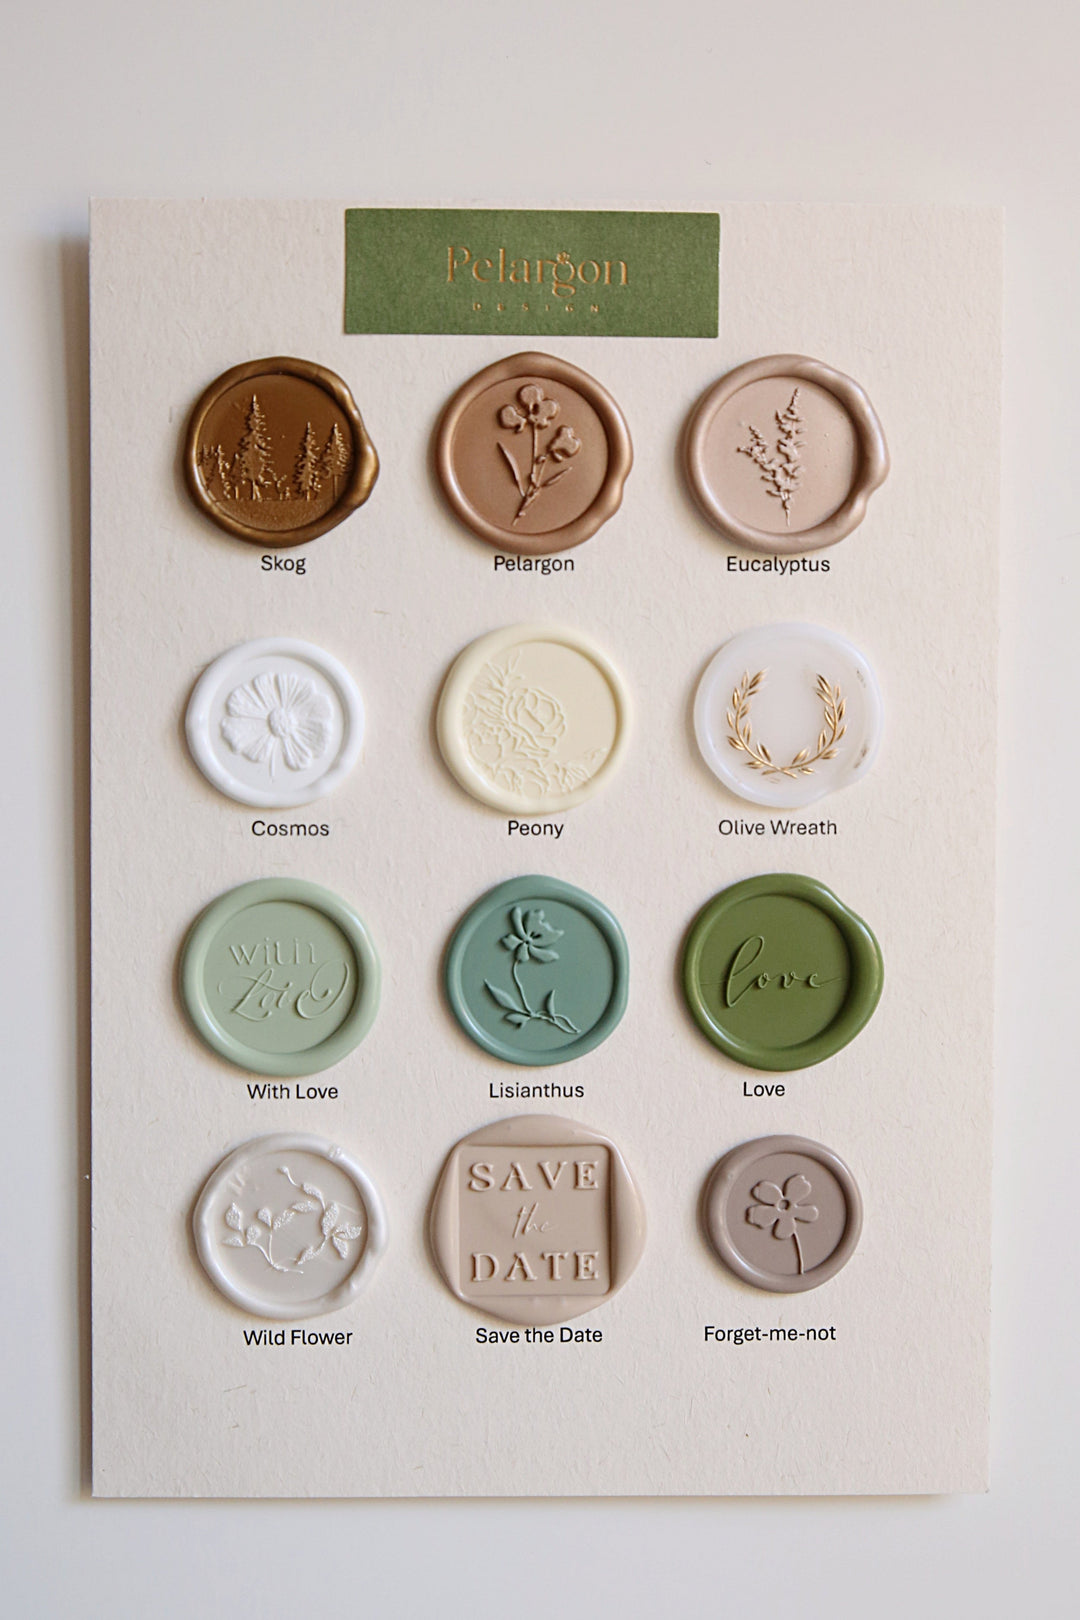
- Wax Stamps (Patterned or blank)
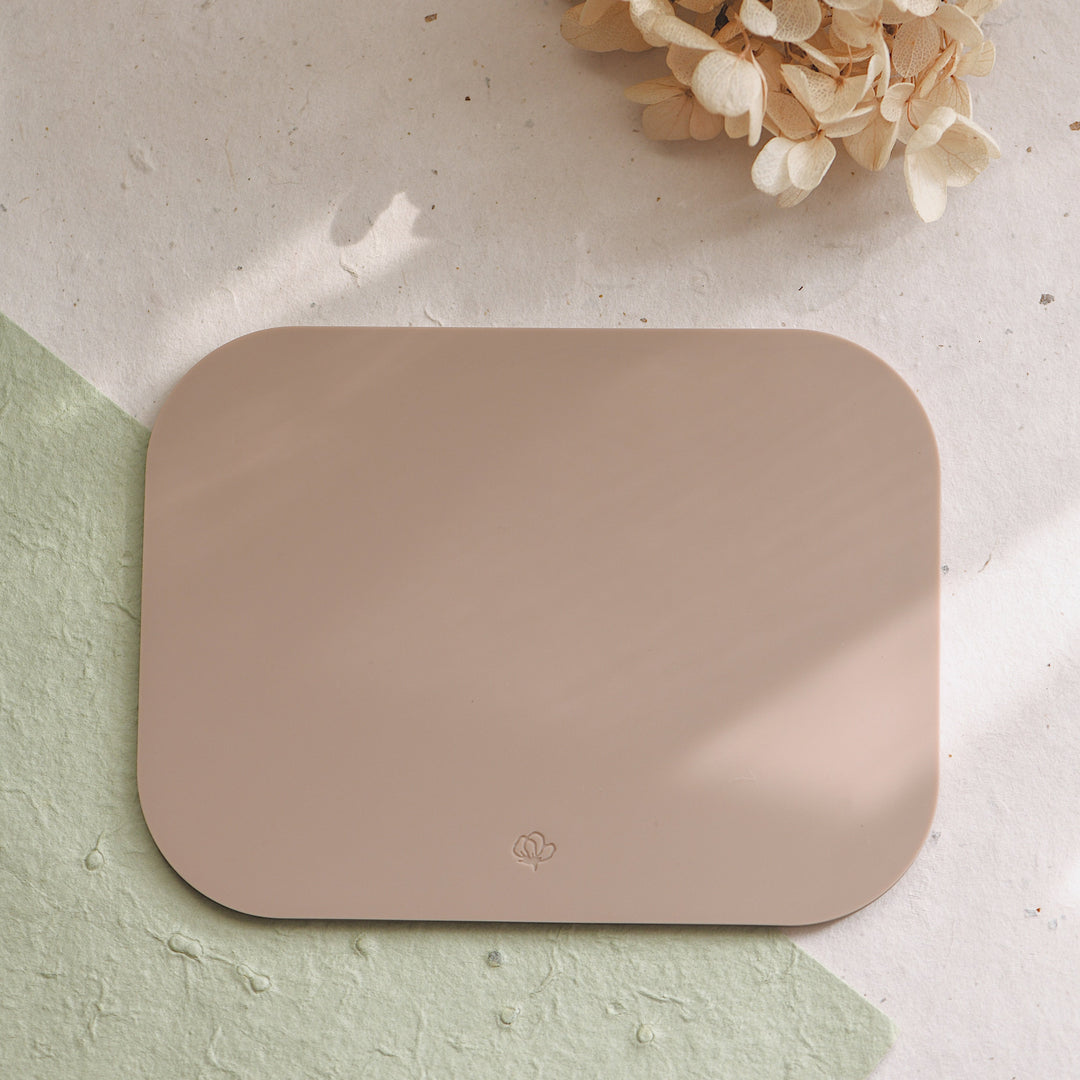
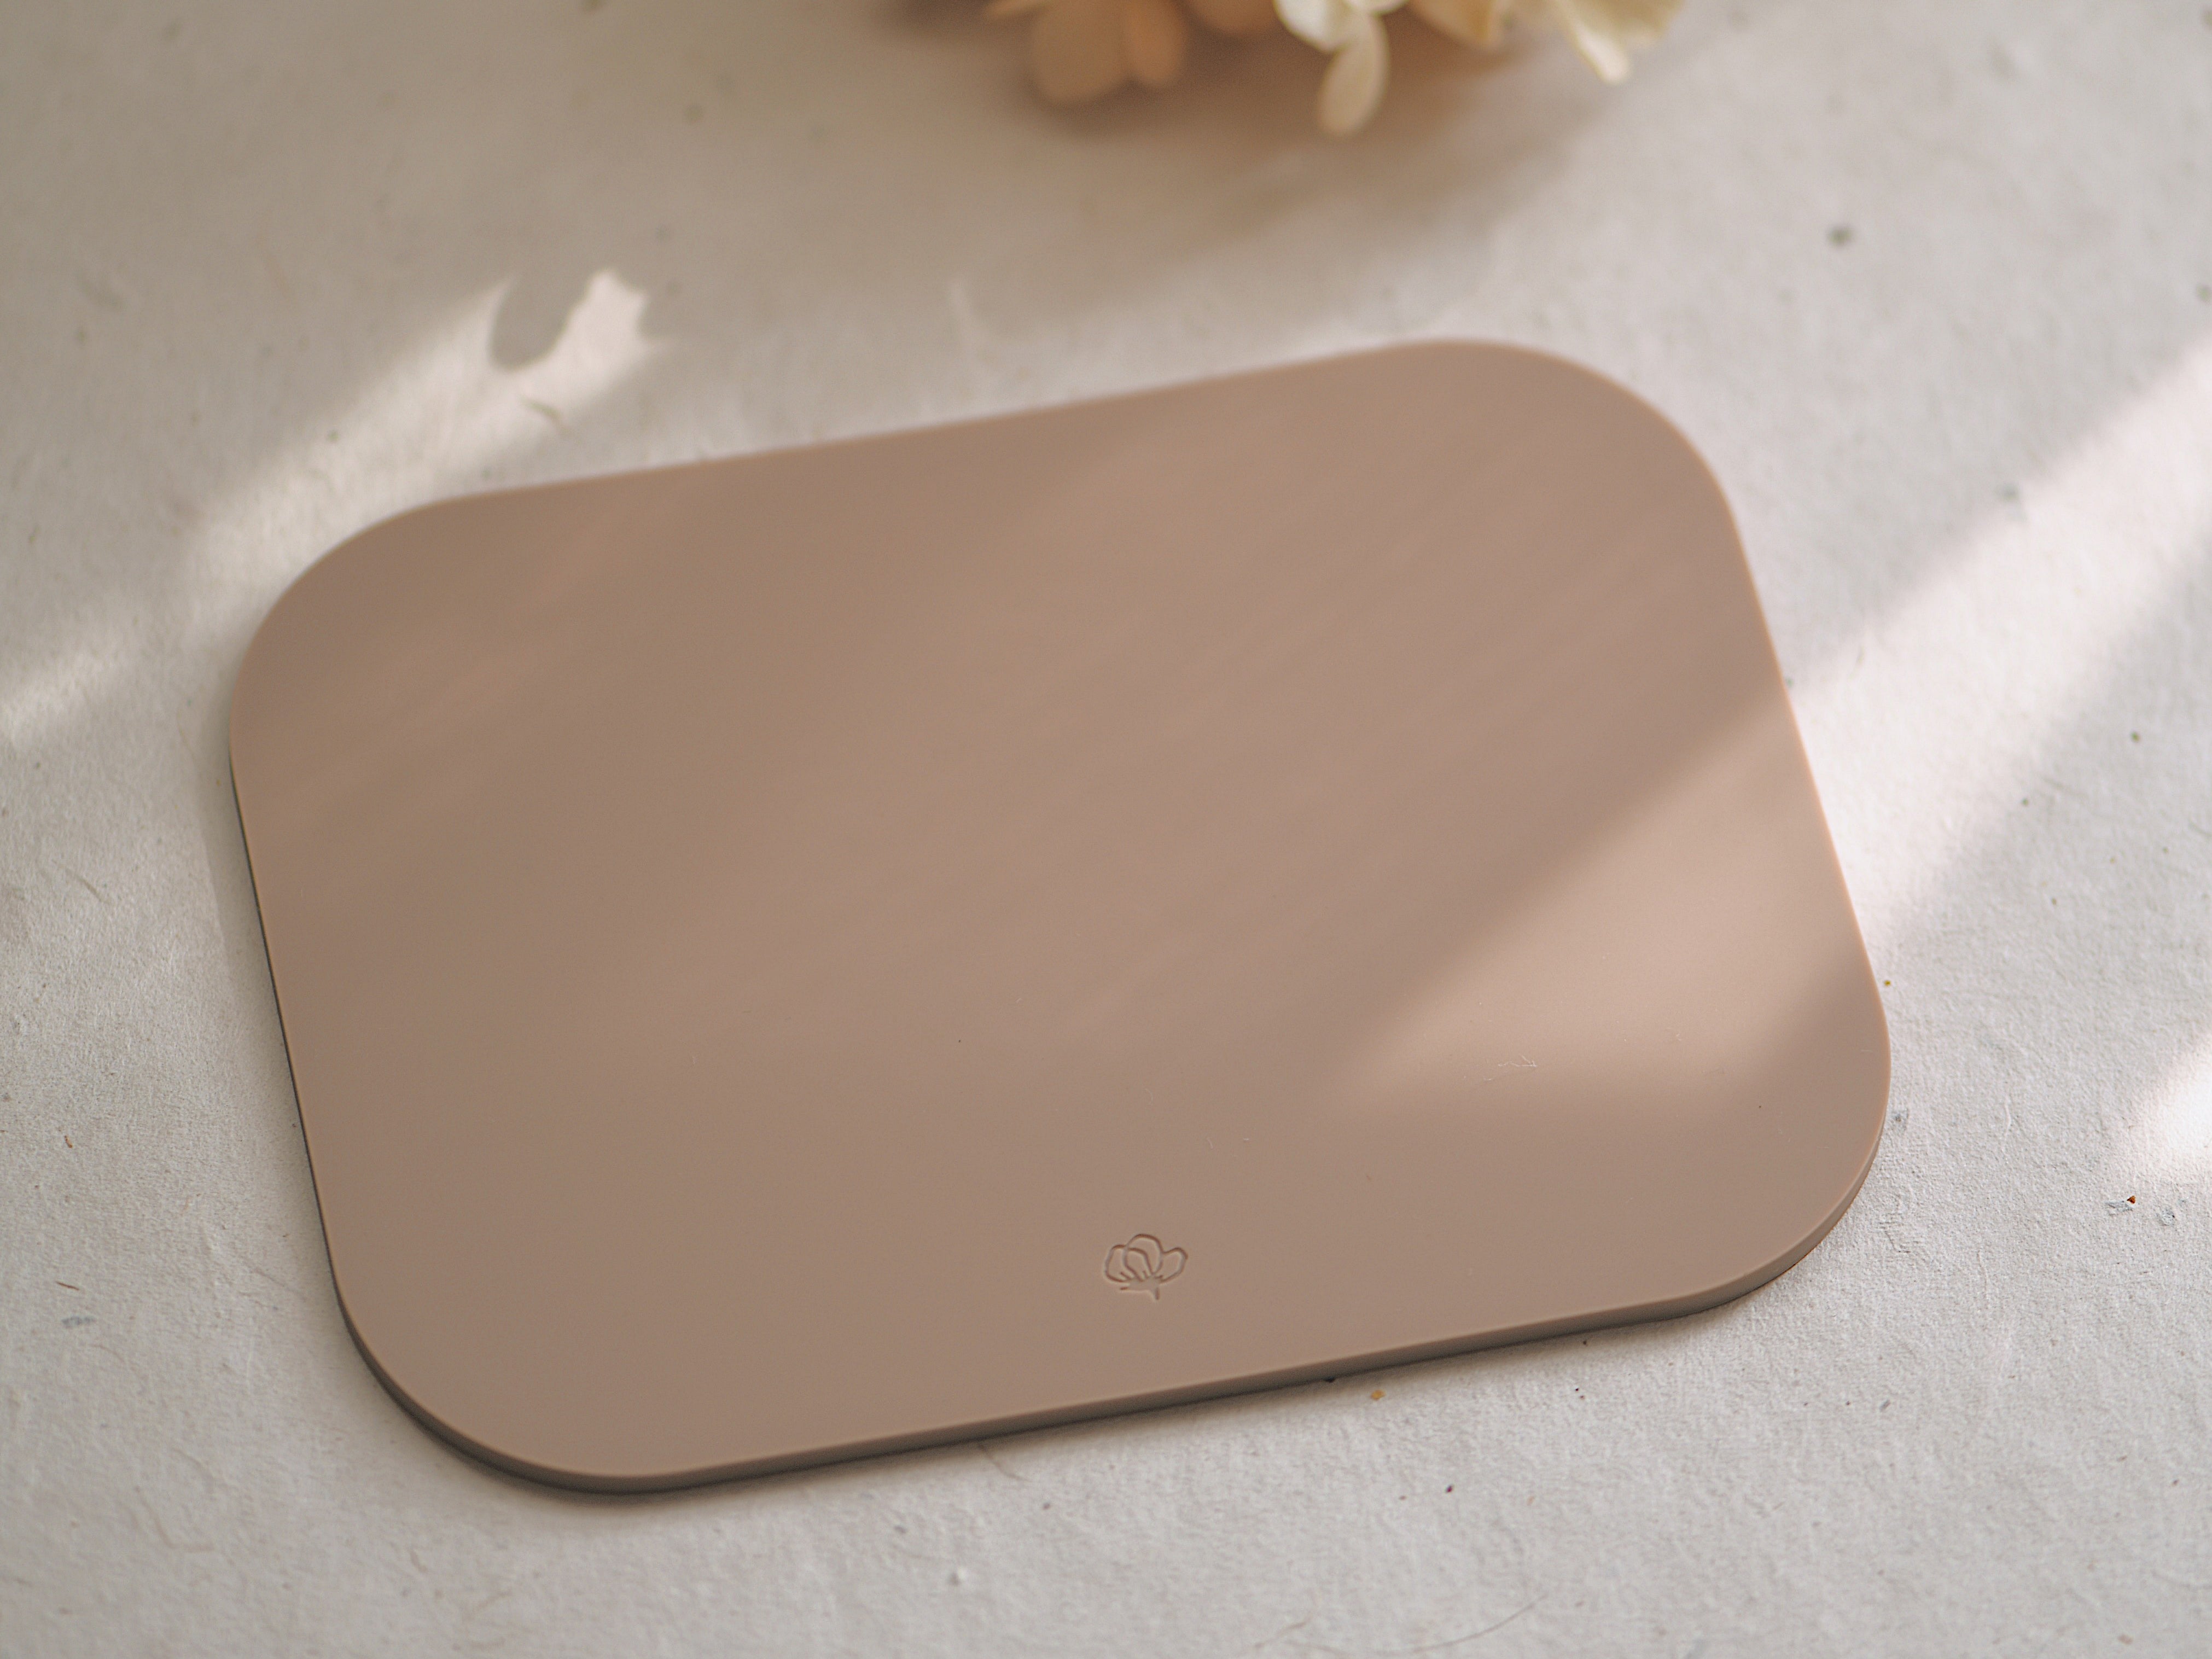
- High-gloss Silicone Mat
- Double adhesive stickers
- Style 1 - Pressed dried flowers
- Style 2 - Add gold touch with Marker or Gold Seal Cream
- Style 3 - Sealing wax flakes
- Style 4 - Printed paper
- Style 5 - Pair with Rubber Stamp & Dried Flower

Important Reminder:
- GLAX is not adhesive due to its special formula and should not be used for bonding purposes. It is exclusively crafted for creating decorative wax seals.
- Set the glue gun to high temperature. Wait at least 8 minutes for the glue gun to reach the optimal temperature.
- Do not melt the hot glue in a spoon or wax warmer — the temperature will not be high enough for it to melt properly.
- Use together with our Dual-sided Silicone Mat, which the high-gloss side is specially designed for crystal-clear hot glue seals, enhancing the transparency of your designs. (Buy Bundle and Save 10%)
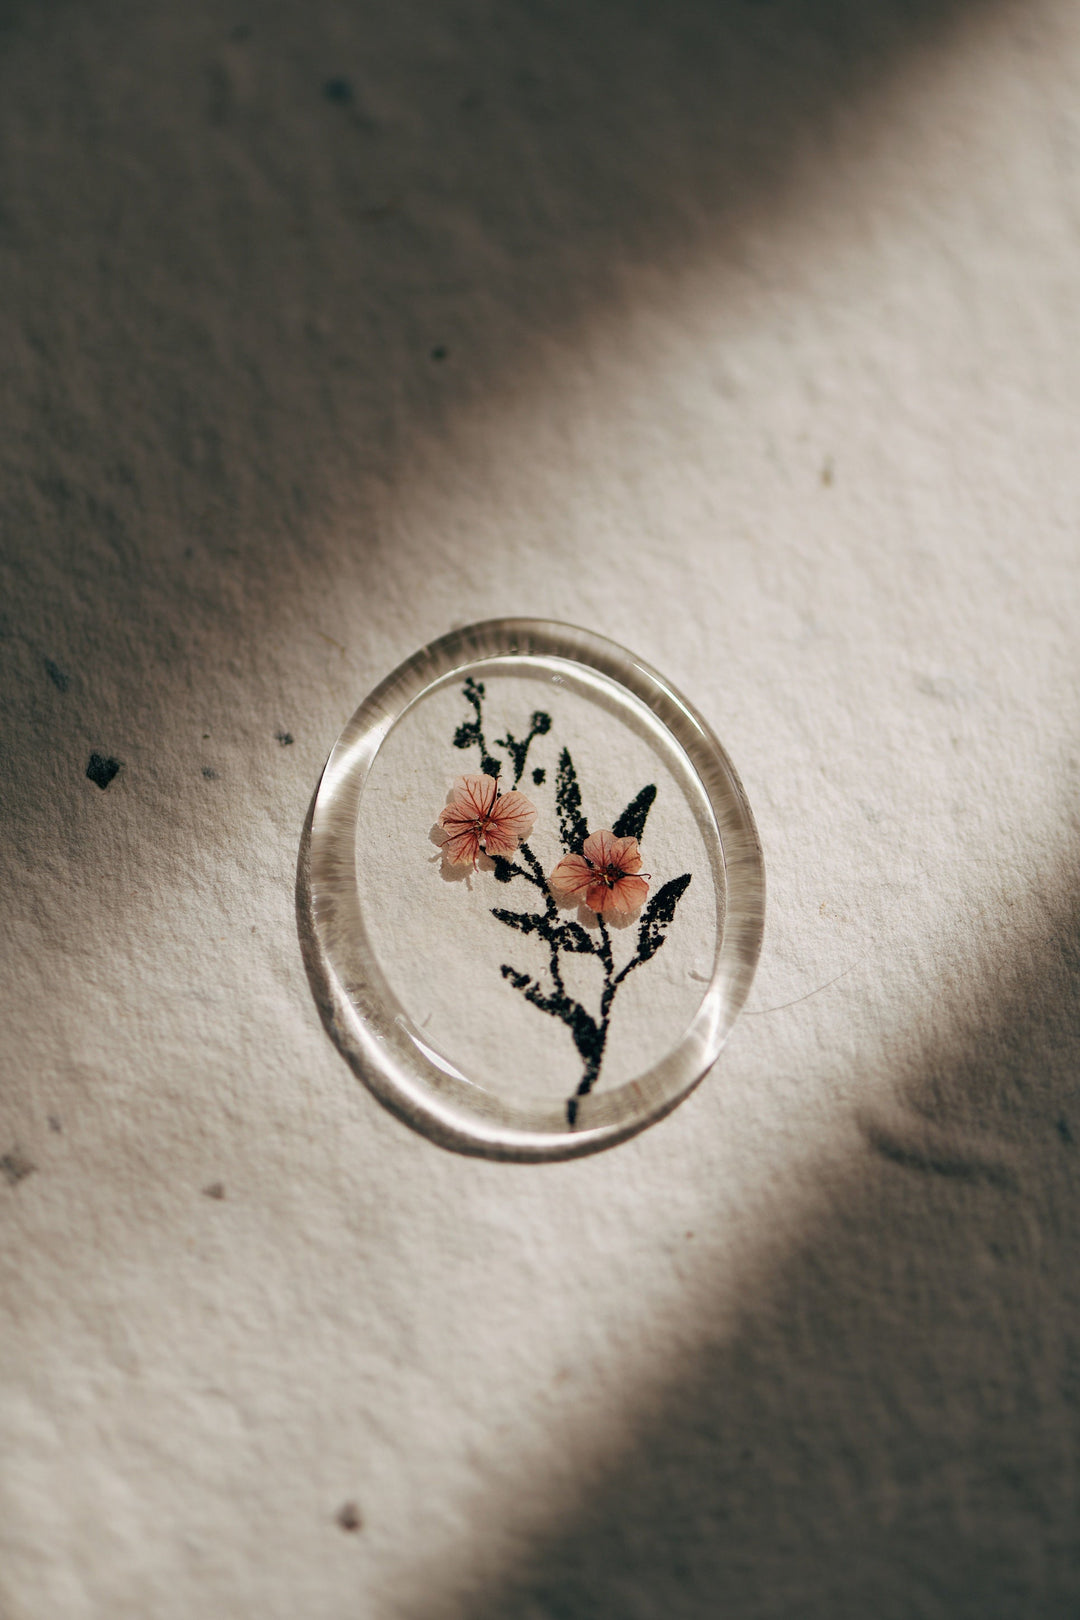
Style 1: Pressed Dried Flower Seal
 This style is one of our favorites to use hot glue, it beautifully preserves the vibrant colors and delicate veins of pressed dried flowers, making each seal a small work of art.
Instructions:
1. Heat the glue gun and squeeze GLAX onto the silicone mat.
2. Place a pressed dried flower in the center of the hot glue.
3. Use a Blank Wax Stamp to press down gently.
4. Once cooled, remove the stamp. Your botanical-inspired seal is ready!
Style 2: Clear Seal with Gold Highlight

For a luxurious gilded look, this style is both simple and elegant. Just add some gold touch in the last step.
Instructions:
1. Heat the glue gun and squeeze GLAX onto the silicone mat.
2. Press a patterned wax stamp (e.g., Lace Peony) into the glue.
3. Allow the glue to cool completely, then remove the stamp.
4. Highlight the raised design with Gold seal cream or an acrylic gold marker.
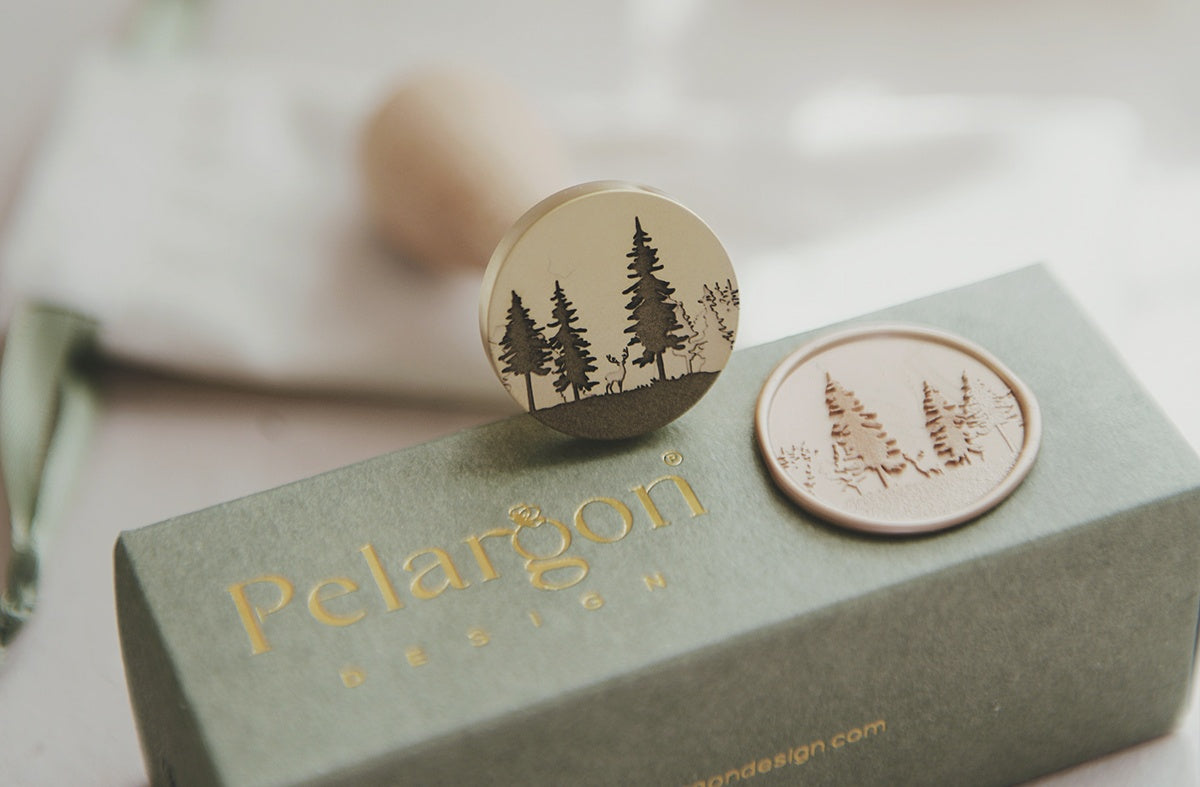
Style 3: Using Sealing Wax As Highlight
 This advanced technique combines the richness of sealing wax with the glassy look of GLAX for a multi-dimensional effect.
Instructions:
1. Prepare sealing wax flakes (See our Video Tutorial for guidance).
2. Heat the glue gun and squeeze GLAX onto the silicone mat, adding wax flakes in the center.
3. Press a patterned wax stamp (e.g., SKOG Forest) into the mix.
4. Once cooled, remove the stamp.
5. Use chrome powder or a gold marker to highlight specific areas of the design for added depth.
Style 4: Using Printed Cardstock
 This technique allows endless possibilities by incorporating your favorite printed designs as a background.
Instructions:
1. Select your printed cardstock or craft paper.
2. Heat the glue gun and squeeze GLAX directly onto the paper.
3. Press a patterned wax stamp (e.g., 3D Love) into the glue.
4. Once cooled, remove the stamp.
5. Highlight the design with chrome gold powder or an acrylic gold marker for a polished finish.
Style 5: Pair with Rubber Stamp & Pressed Flower
We love the chemistry they create: simple, soft and effortlessly clean. With adding in the pressed flower, it creates depth and an elegant touch of nature.
Materials you'll need:
- Mirror Polished Blank Stamp
- Rubber Stamp + Ink Pad
- GLAX - Crystal Clear Hot Glue
- Mini Pressed Flower
![]()

Tips for Success:
- Use a high-heat glue gun. GlAX melts a bit slower than regular hot glue sticks, let the glue gun warm up for at least 5 min.
- Always work on a high-gloss and heat-resistant silicone mat to ensure easy removal of seals.
- Works best with mirror polished wax stamp, the polished surface will enhance the clarity significantly.
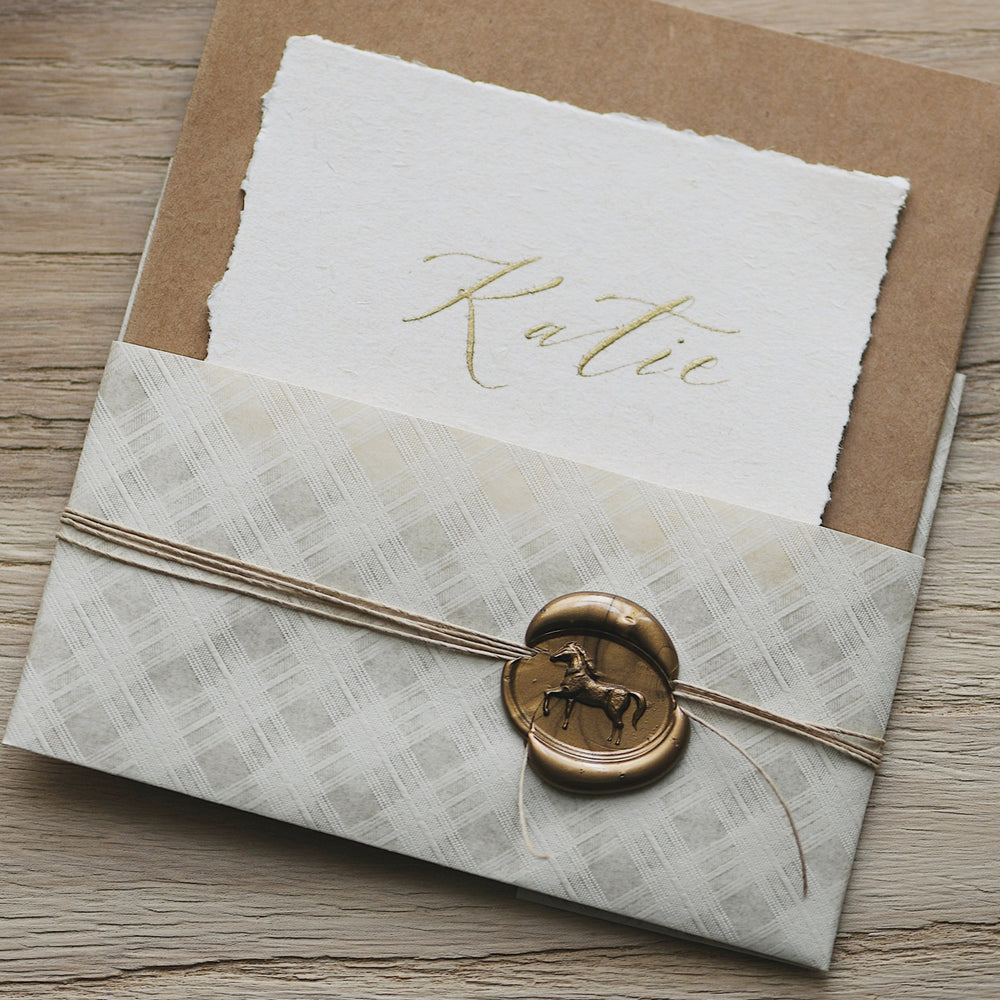
- Use double adhesive stickers to attach your faux wax seals to gift wraps, invitations, or envelopes.
- Experiment with different combinations of dried flowers, metallic powders, and printed designs to create one-of-a-kind pieces.
Happy Crafting!