How To Create Dried Flower Wax Seals


Bring Nature to Your Wedding Stationery
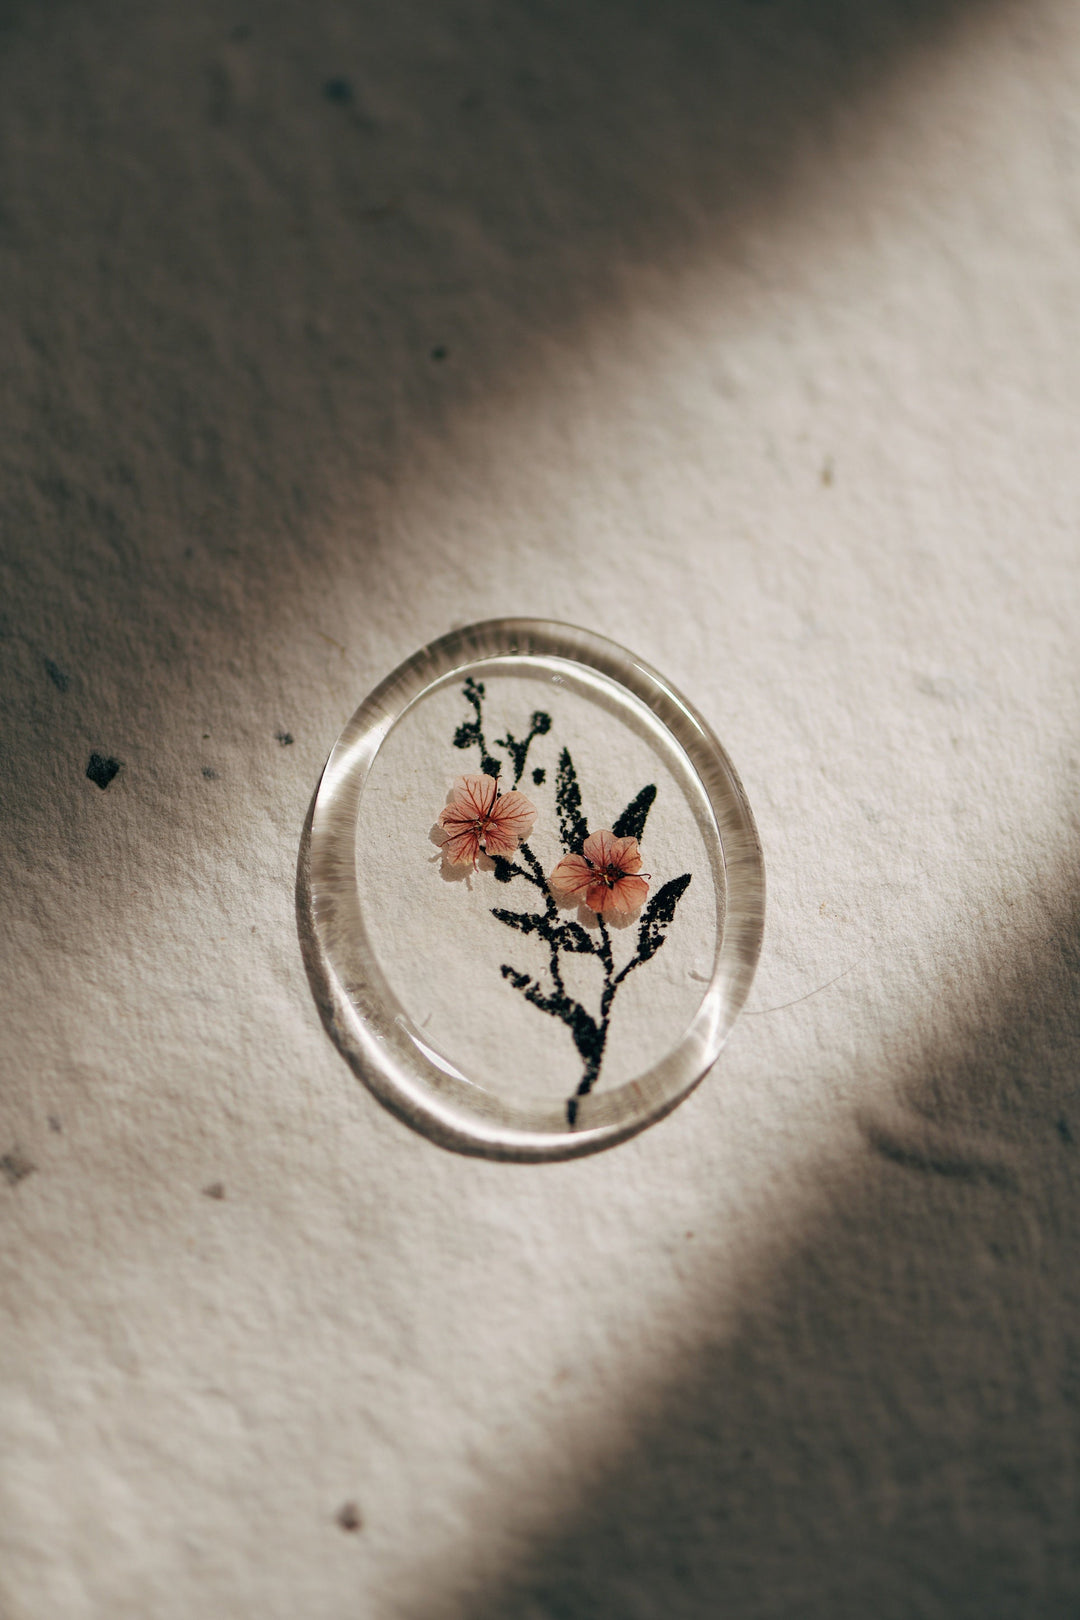
Creating a wax seal with dried flowers is a simple yet beautiful way to add a personal touch to your wedding invitations. It's a detail that your guests are sure to notice and appreciate. Not only does this add a beautiful and elegant element to your invitations, but it also allows you to incorporate meaningful flowers into your design.
Materials You'll Need:
- A blank wax stamp
- Sealing wax sticks (Neutral color is always a good choice: Vellum, White, Cream, Oat)
- Dried flowers or petals
- Tweezers
- Heat source (A glue gun or candle)
Steps to Create Your Wax Seal:
-
Prepare Your Materials: Start by gathering all your materials and setting up your workspace. Make sure your wax seal stamp is clean and ready to use.
-
Melt the Wax: Light your candle or heat your glue gun.Drip the wax onto the envelope where you want your seal to be.
-
Add the Dried Flowers: Before the wax sets, carefully place the dried flowers into the wax. You can use tweezers to position them exactly where you want them.
-
Create the Seal: Press your blank stamp into the melted wax. Hold it firmly in place for a few seconds to ensure the wax sets around the stamp.
-
Let It Cool: Allow the wax to cool and it's done!

Tips for Success:
- Use small, delicate flowers or petals to ensure they adhere well to the wax.
- Experiment with different wax colors and flower combinations to find the perfect look for your invitations.
- Practice on parchment paper (baking sheet) before working on your actual invitations to get the hang of the technique.


