


Pressed Dried Flowers Bundle
Pressed dried flowers are real blooms that have been flattened, usually using a flower press, heavy books, or household methods—until fully dried and thin. They capture the natural beauty of petals and leaves in miniature form, ideal for embedding into wax seals, resin art, jewellery, journals and many other art projects.
How to Use Them
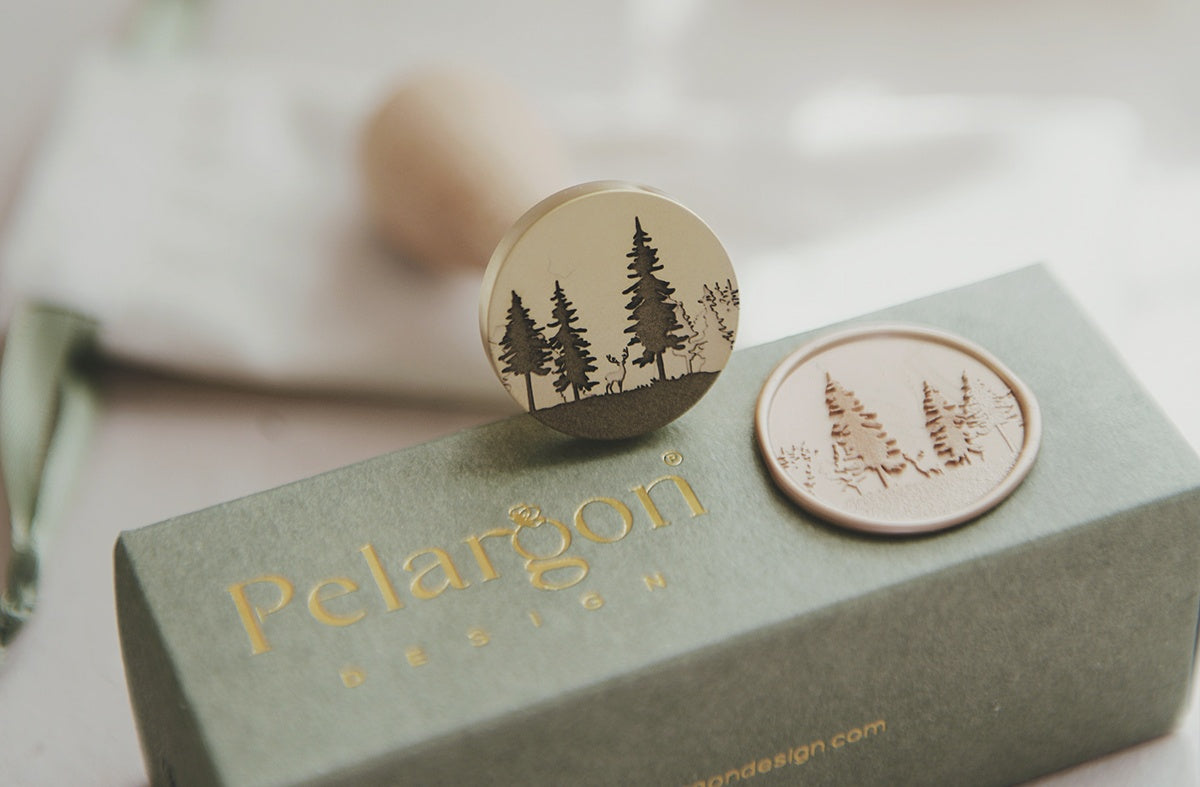
- Gather Your Tools – You’ll need Sealing Wax (Wax sticks or clear hot glue sticks like GLAX), a Blank Seal Stamp, a Hot Glue Gun or Melting Stove Kit, a Silicone Mat or Parchment Paper, and Tweezers.
- Melt Wax – Pour sealing wax on your melting surface or directly on the envelope.
- Place the Flower – Gently lay the pressed flower into the warm wax using tweezers.
- Stamp & Seal – Allow the wax to set slightly, then press the seal stamp firmly and let cool for 30 seconds.
Features:
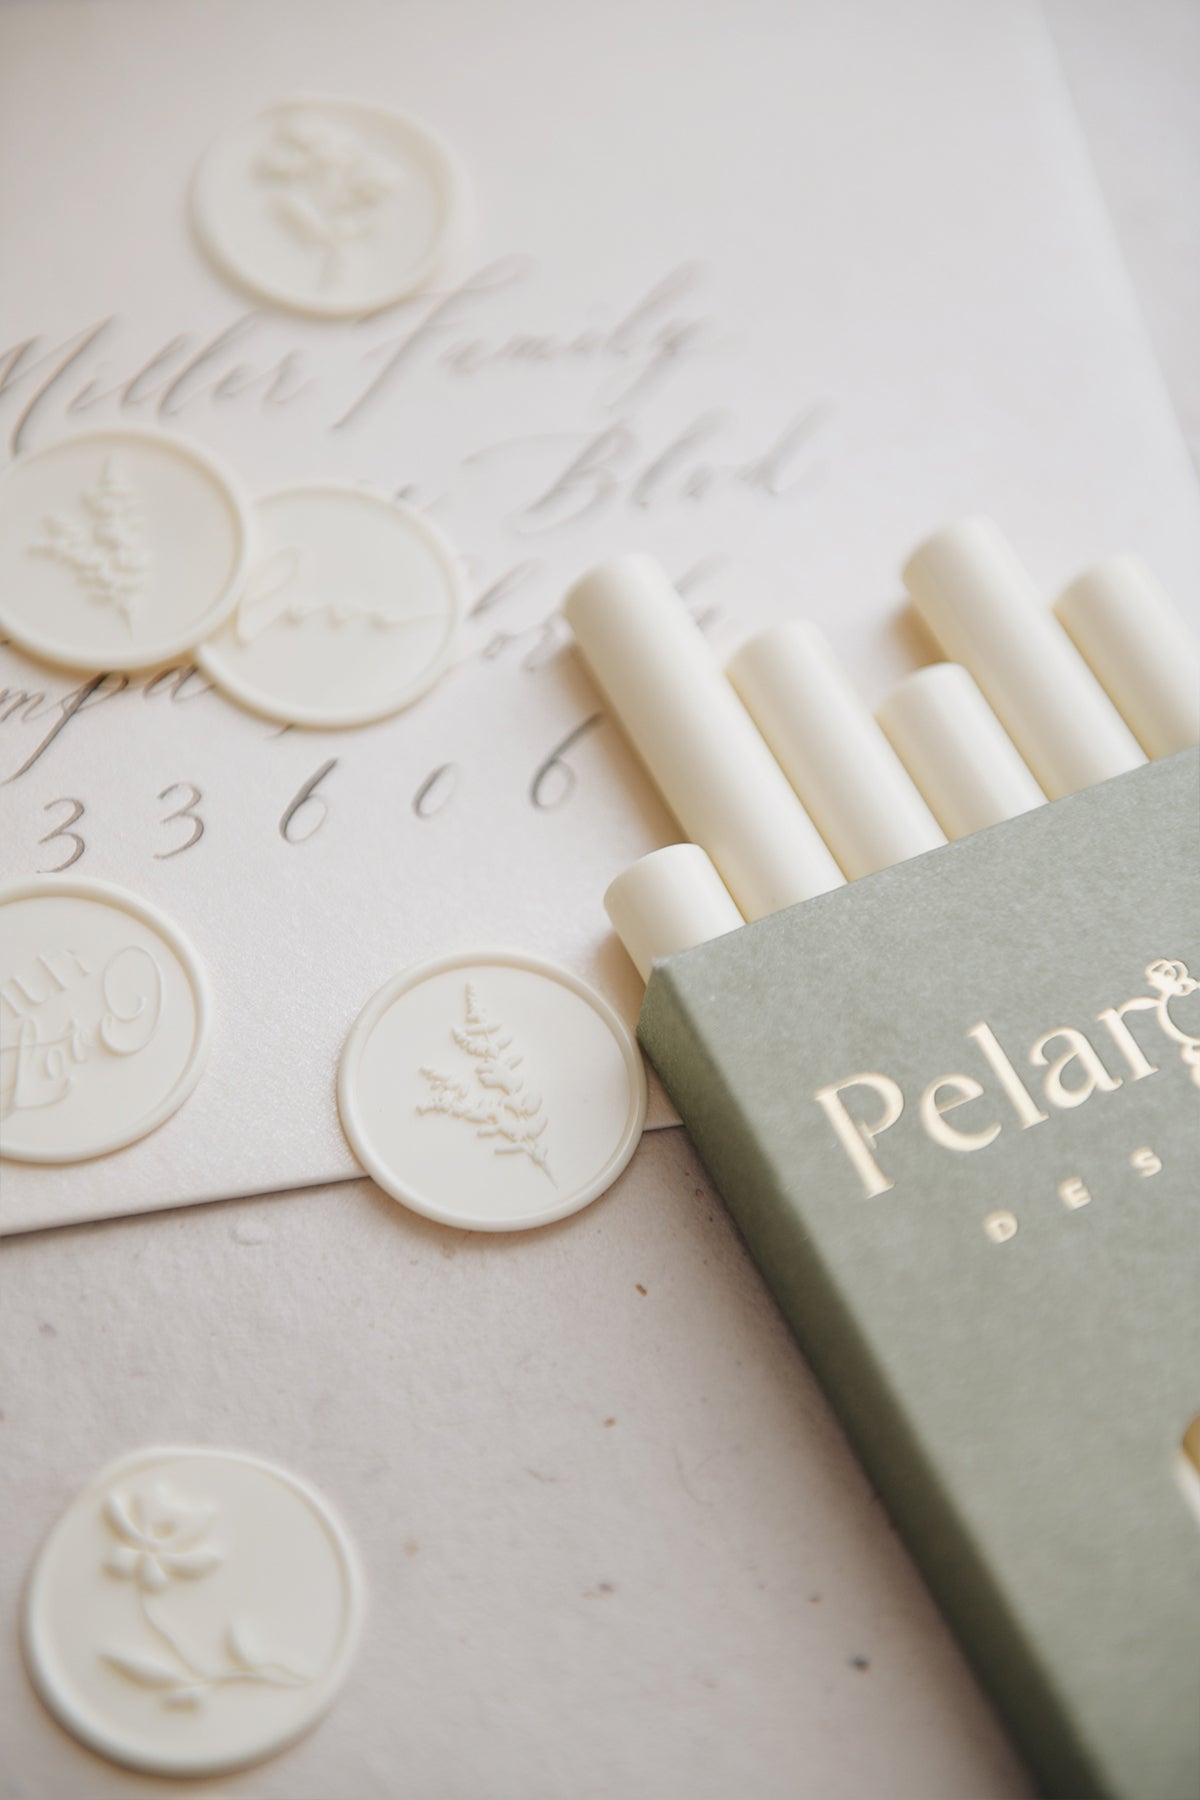
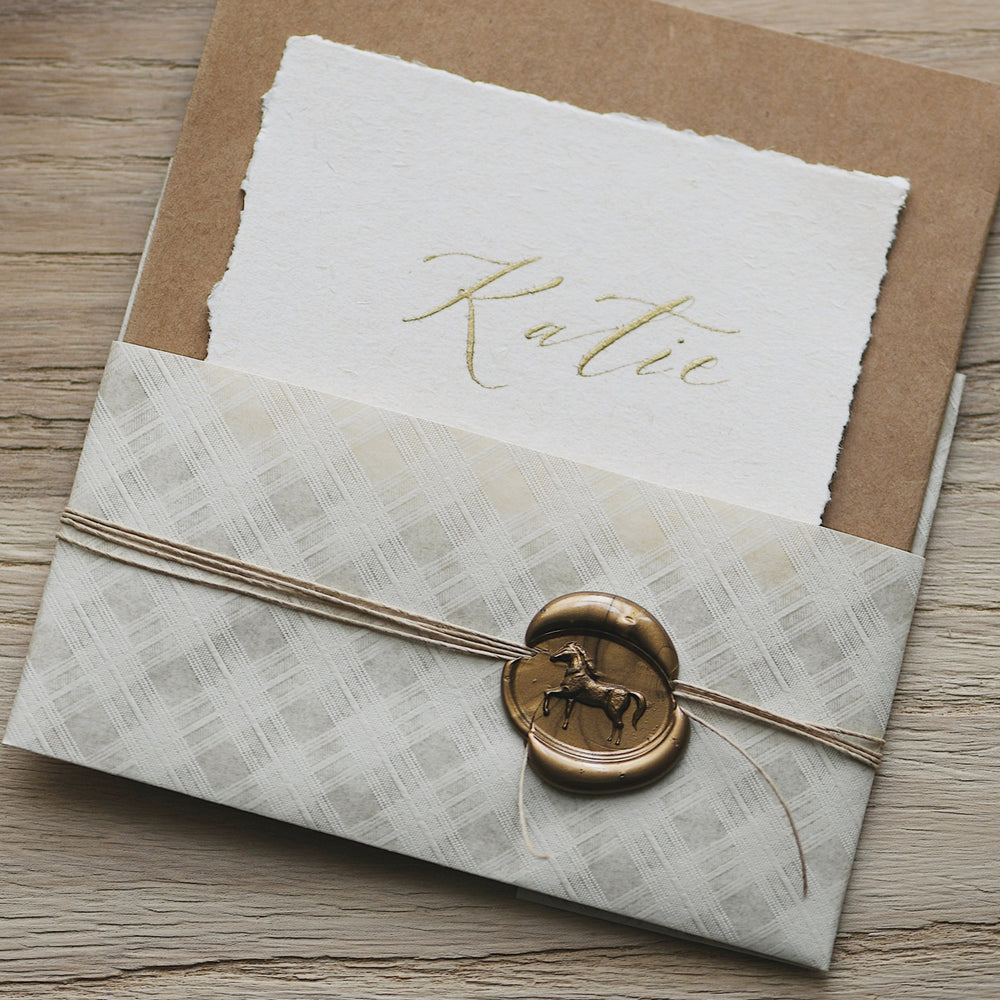
- 5 Assorted Pressed Flowers, they are: Blue Forget-me-not, Yellow Buttercup, Red Rose, Blue Lobelia, Yellow Narcissus
- One set is enough for making 70 wax seals.
- Not edible, please do not use it in or on food.
More videos and tutorials here.
The Glue Gun Way
- Select your wax color and insert one stick into the glue gun.
- Wait for the glue gun to heat up for 1-2 mins. Once it’s ready, dispense the wax onto your envelope.
- Place the seal in the center of the wax, ensuring a firm and even impression.
- Allow the wax to cool for 10-15 seconds and then remove the wax stamp.
The Melting Spoon Way
- Cut a small portion of wax from the stick and place it within a metal spoon. It is advisable to opt for a non-metal handle spoon to prevent burning your fingers.
- Light up a candle and hold the spoon over the flame. Wait until the wax is melt completely. You can also mix 2-3 colors to create a beautiful marbled seal!
- Pour the wax onto the envelope and place the seal in the wax.
- Allow the wax to cool for 10-15 seconds and then remove the wax stamp.
Shipping Policy
// Shipping Worldwide //
Standard Shipping via PostNord Sweden (Tracking Number Incl.)
Please allow 2 business days for order processing and dispatch.
Estimated Delivery Times:
-
Within Sweden: 2-4 business days
-
Within the EU: 5-7 business days
-
International (Outside the EU): 7-15 business days
You can find your tracking number by checking your emails for order notifications from the website or by logging into your account and viewing your order for the latest tracking information.
If you need your order by a certain date, please email us first before you place the order. hello@pelargondesign.com
