How To Use Wax Seals With A Glue Gun or Melting Stove Spoon Kit
Wax seals add a touch of elegance and sophistication to your letters, invitations, and crafts. In this blog, we’ll guide you through the simple yet enchanting process of making wax seals. From choosing the right materials to mastering the technique, we’ll cover everything you need to know to create beautiful wax seals that leave a lasting impression. Let’s dive into it!

What you'll need:
- Glue Gun - use a standard sized low-temperature glue gun for 11mm diameter wax sticks or a mini sized glue gun for 7mm wax sticks.
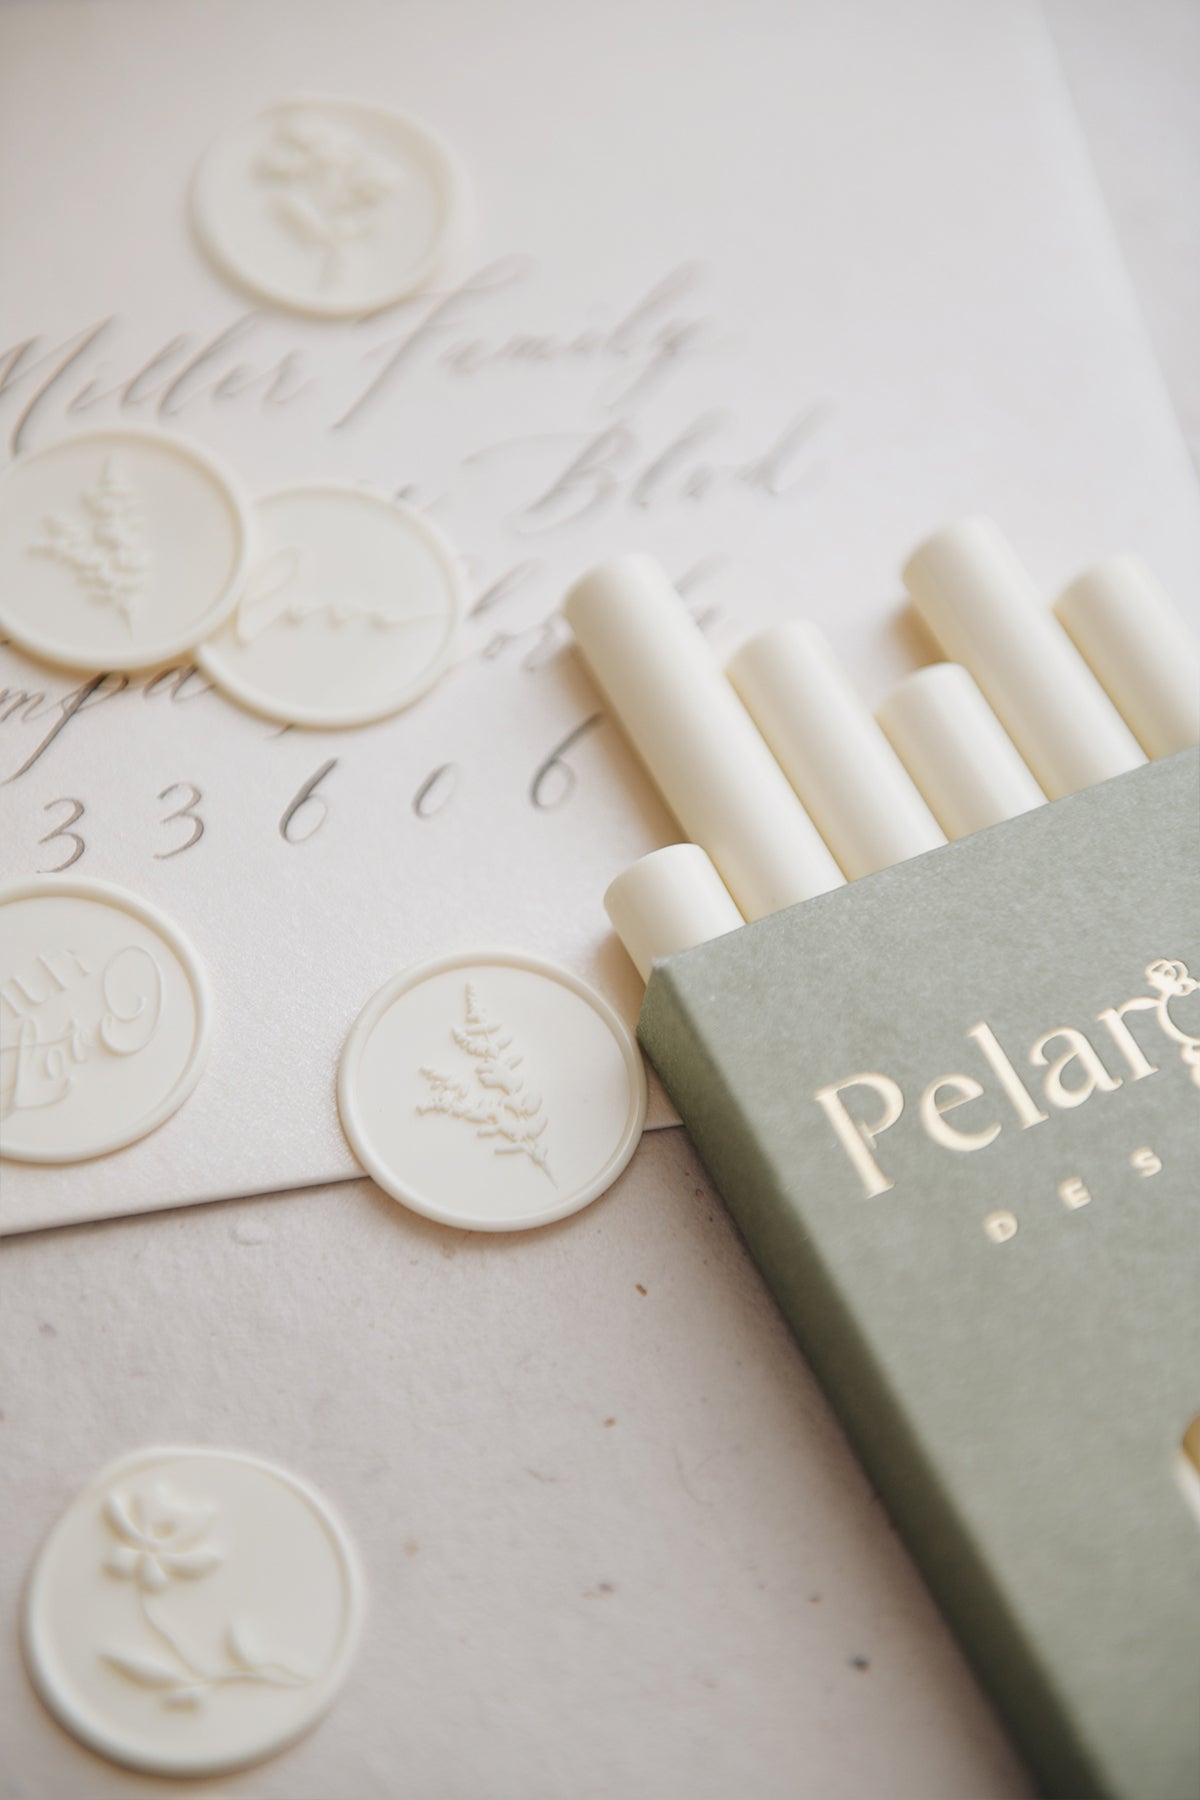
- Glue gun format sealing wax sticks
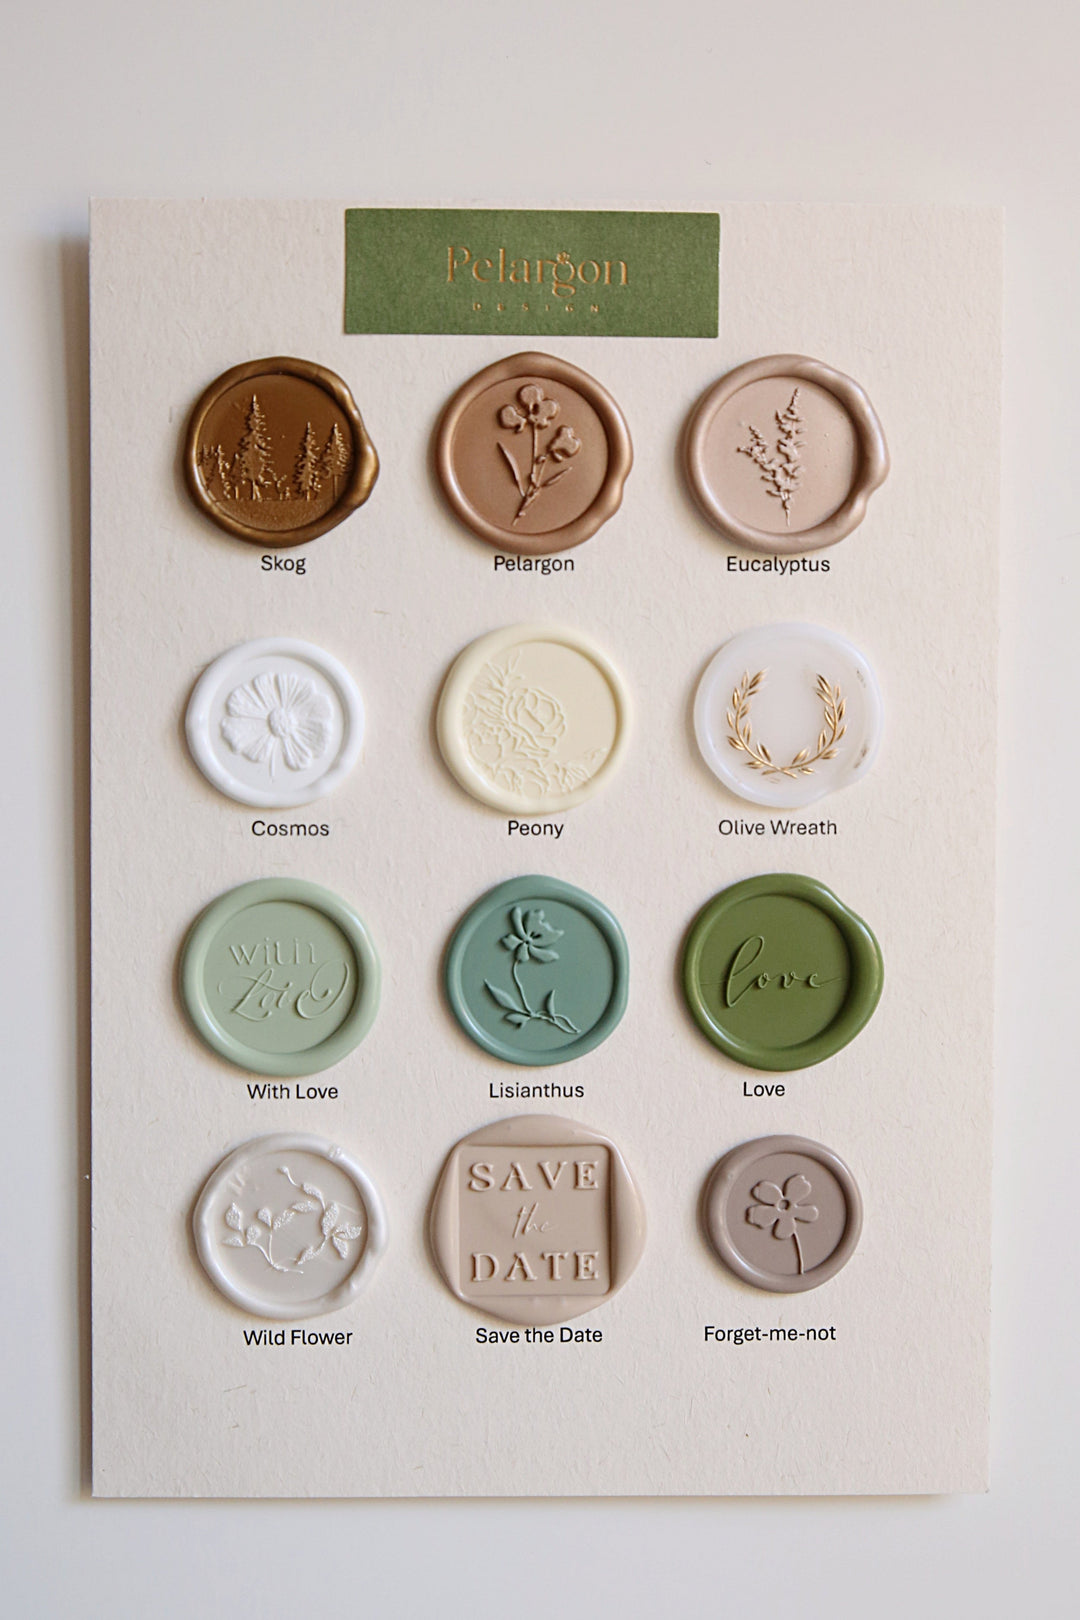
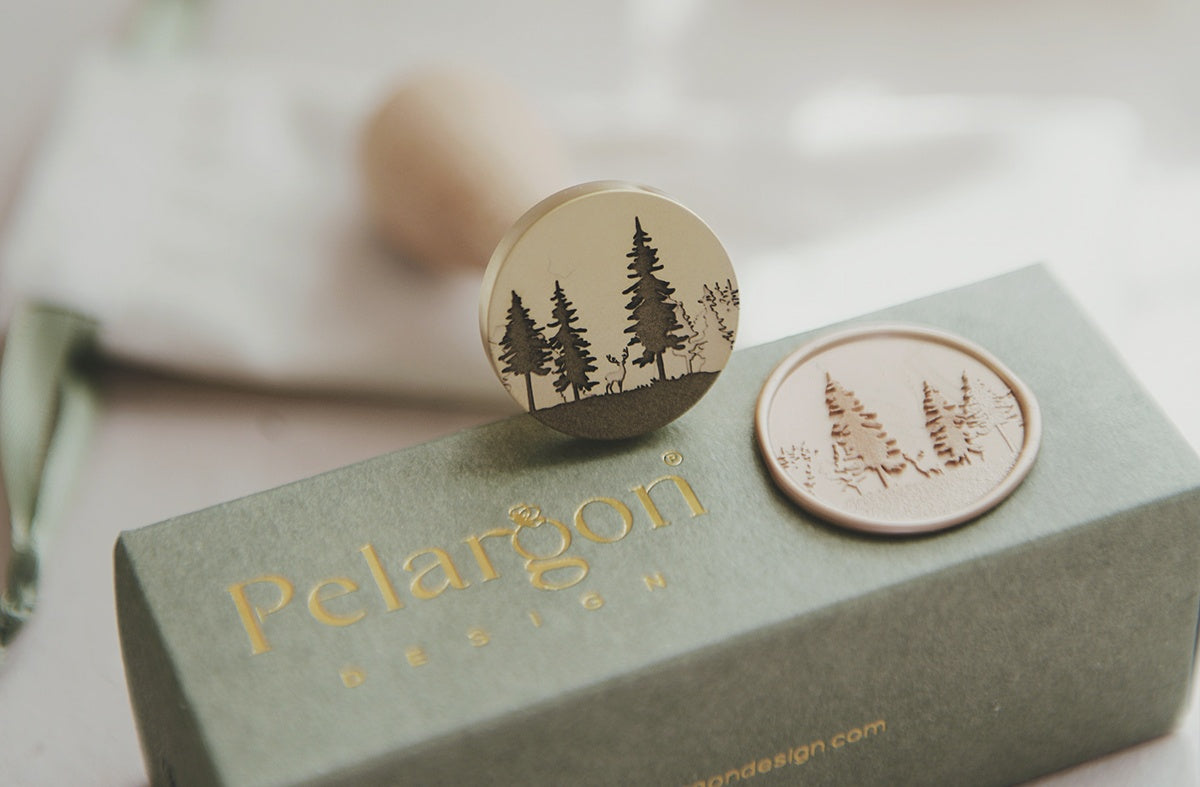
- Wax seal stamps
- Envelopes
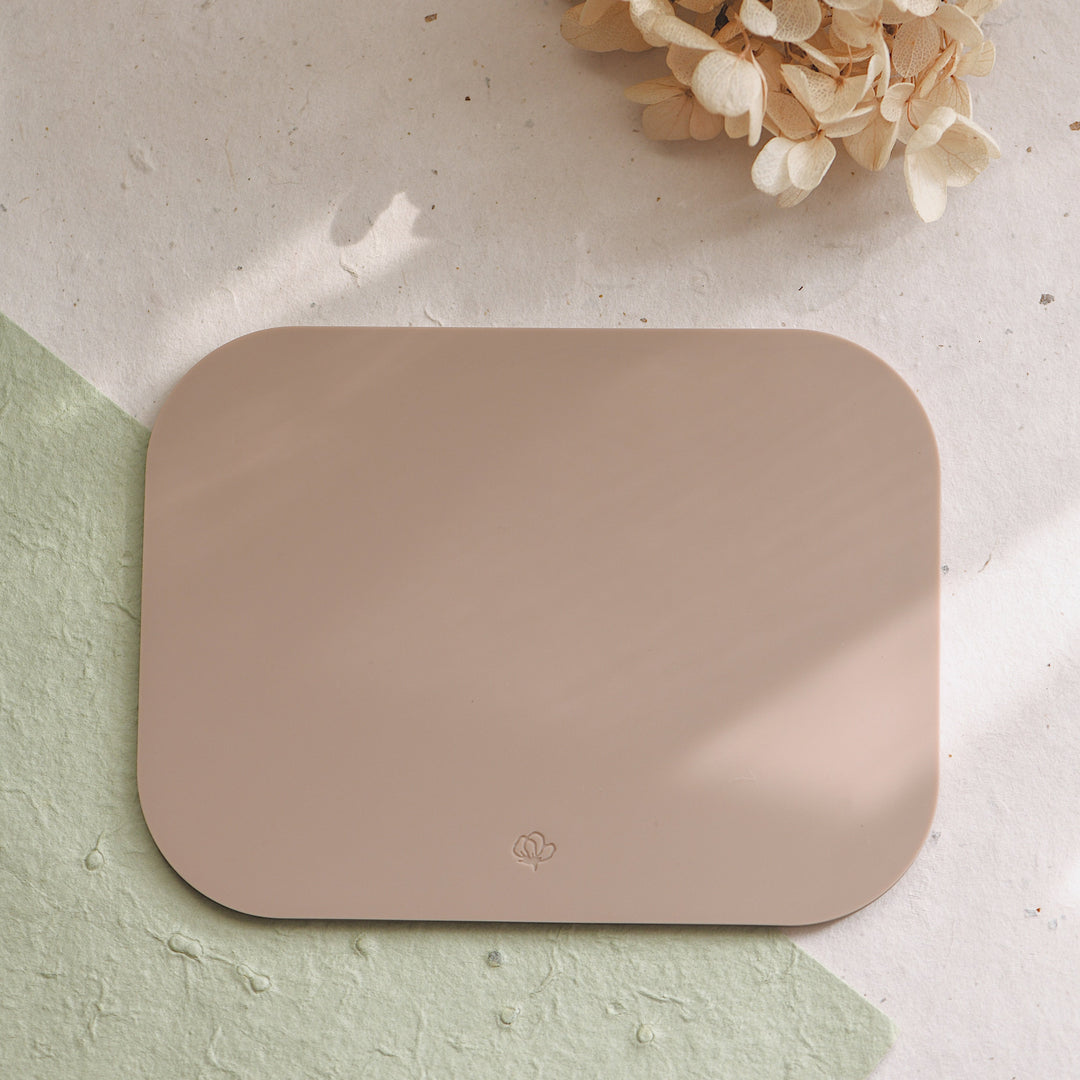
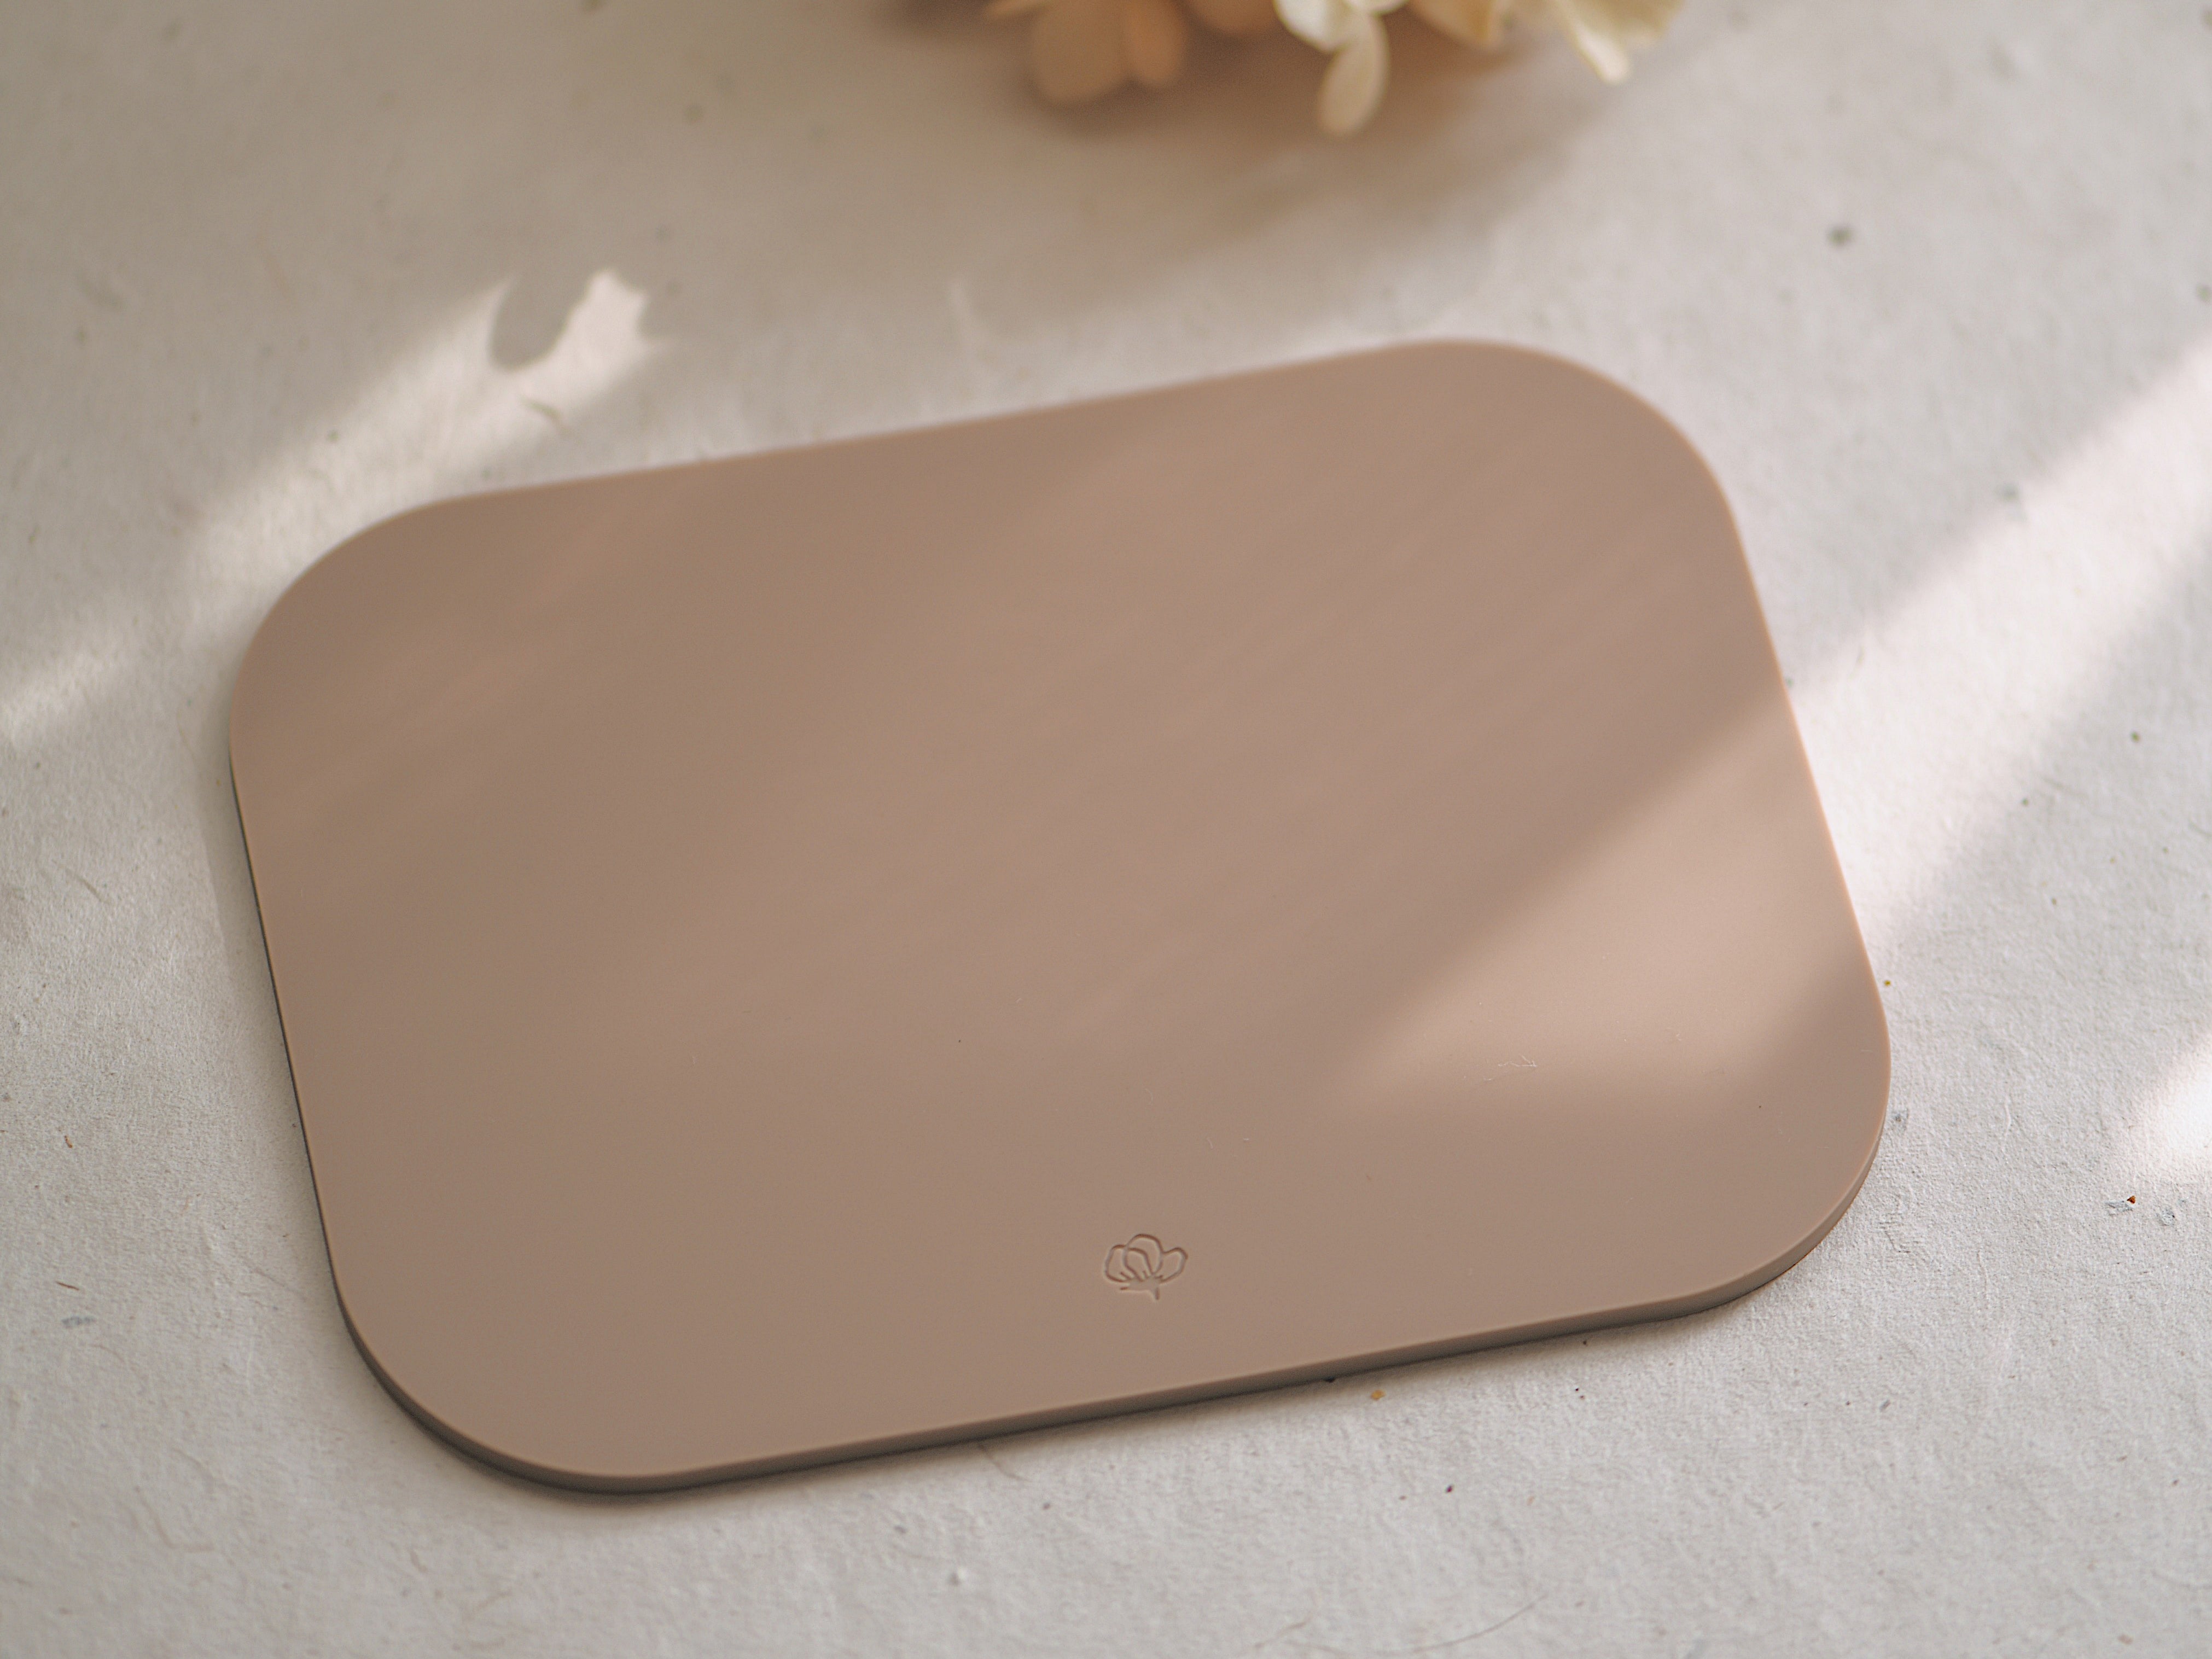
- Silicone mat or some baking paper for practice and resting your glue gun
- An ice pack and a dry cloth

Steps
- Select your wax color and insert one stick into the glue gun.
- Wait for the glue gun to heat up for 1-2 mins. Once it’s ready, dispense the wax onto your envelope.
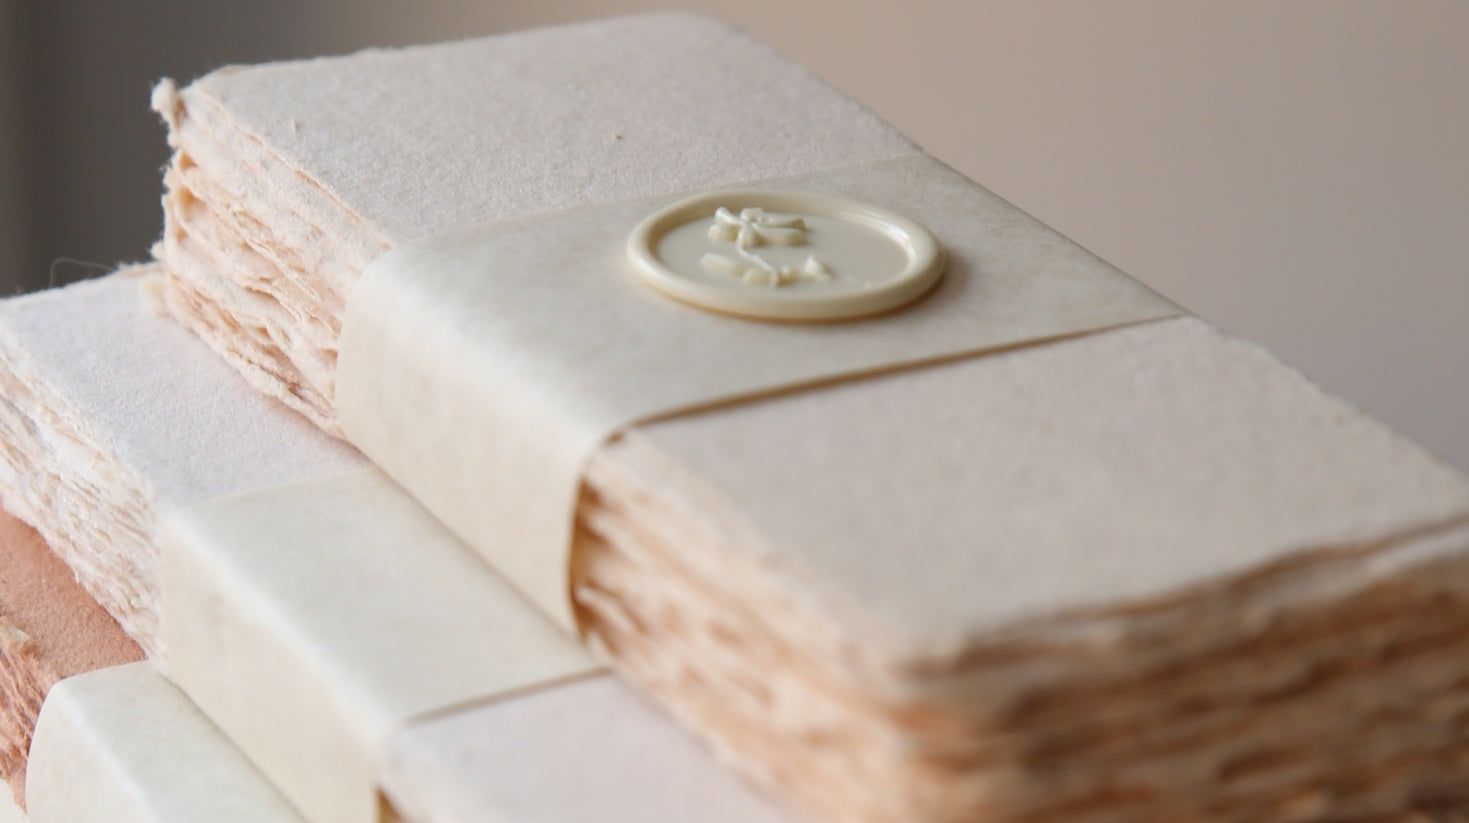
- Place the seal in the center of the wax, ensuring a firm and even impression.
- Allow the wax to cool for 10-15 seconds and then lift the wax stamp.
Tips: Place the metal part of the stamp on an ice pack for a few seconds in between uses. The cooler temperature will help prevent the wax from sticking. Wipe moisture off before stamping.
Q&A How to switch wax colors in the glue gun?
- Use a Clear Glue Stick to Flush the Barrel
Insert a clear glue stick into your sealing‑wax gun and dispense it completely. This pushes out the old color, helps prevent mixing, and gives you a clean chamber before loading the new wax. - Load the New Color
Once the clear glue stick is fully dispensed, insert your new wax color stick and begin creating seals. You may need to discard the first 1–2 impressions to ensure only the new color appears. - Consider Dedicated Guns by Tone
If you switch colors often, it can be worthwhile to reserve separate glue guns for light, dark, or metallic waxes to save time and minimize cleaning.
The Melting Spoon Way

What you'll need:
- Wax seal beads (Or you can cut off a wax stick with pruners)
- Wax seal stamp
- Stove and Melting spoon
- Candle
- Envelopes
- Silicone mat or some baking paper for practice
- An ice pack and a dry cloth

Steps
- Segment a small portion of wax from the stick and place it within a metal spoon. It is advisable to opt for a non-metal handle spoon to prevent burning your fingers.
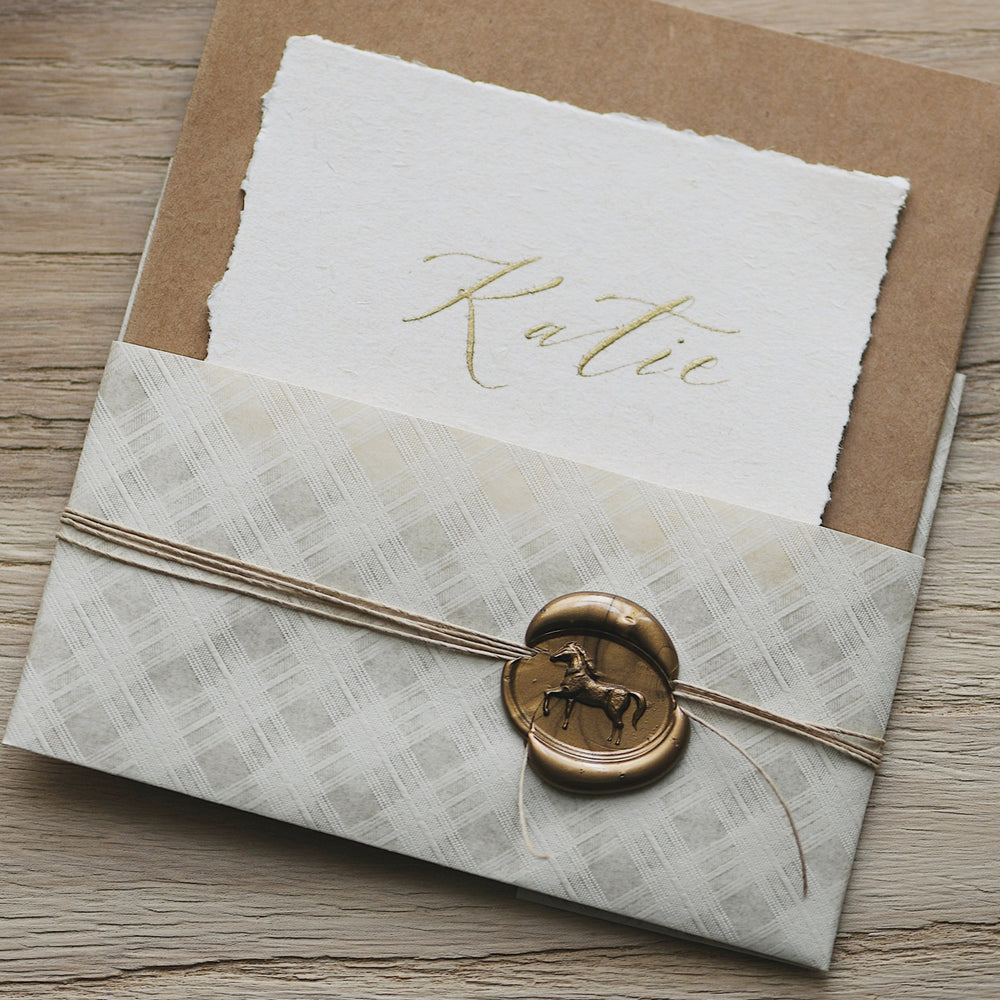
- Light up a candle and hold the spoon over the flame. Wait until the wax is melt completely. You can also mix 2-3 colors to create a beautiful marbled seal!
- Pour the wax onto the envelope and place the seal in the center of the wax.
- Allow the wax to cool for 10-15 seconds and then lift the wax stamp.
Q&A How to clean a wax seal spoon?
- Reheat the spoon (holding it just above the flame) to gently melt any cooled or hardened wax, this softens it for easy removal.
- While the wax is still liquid and the spoon feels warm (but not glowing), firmly wipe the inside (and outside) with a soft and thick folded paper towel, keeping your fingers safely away from hot surfaces. You may need two or three wipes depending on wax residue.
- If wax is stubborn, repeat the reheating and wiping until clean.

Continue Reading
How to Make Perfect Wax Seals (Tips & Troubleshooting)
Happy wax sealing! If you have more questions, feel free to contact us here!